
Last updated November 15, 2026
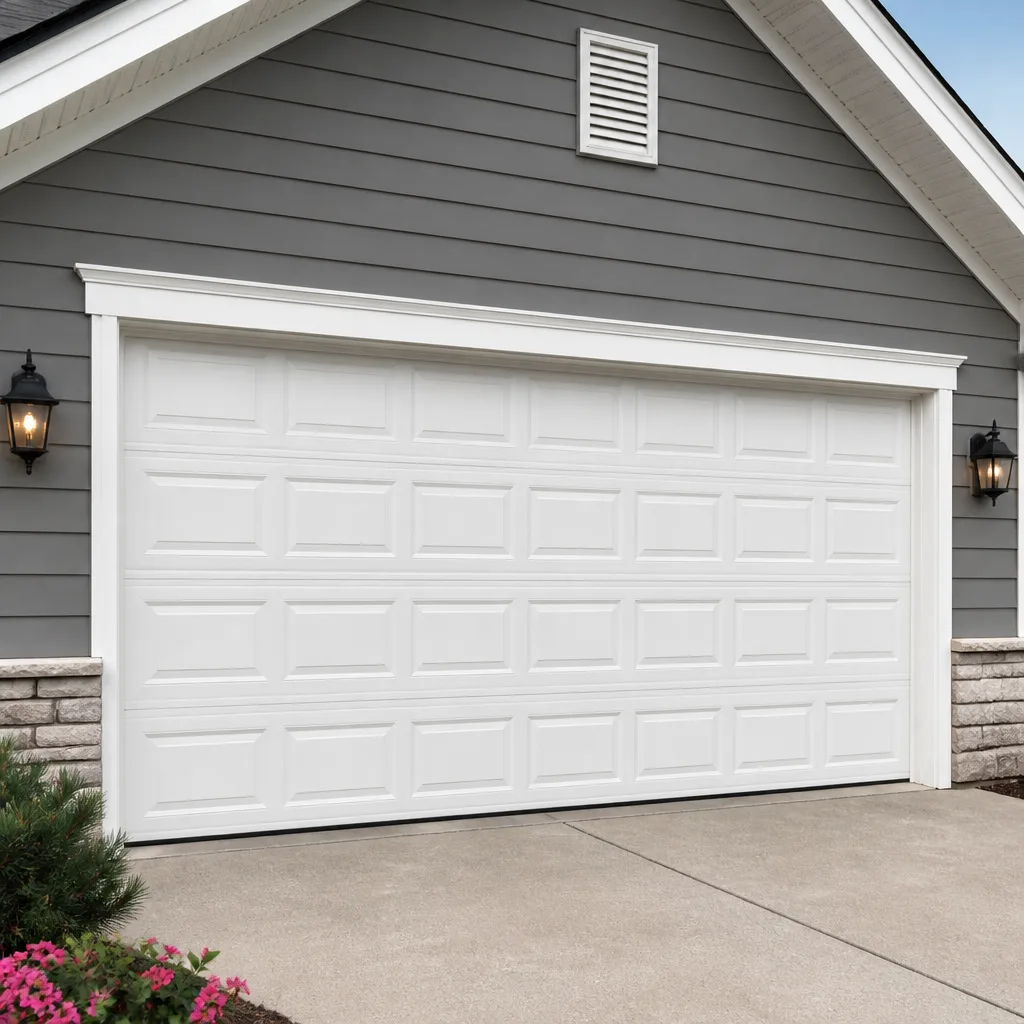 Raised-panel steel
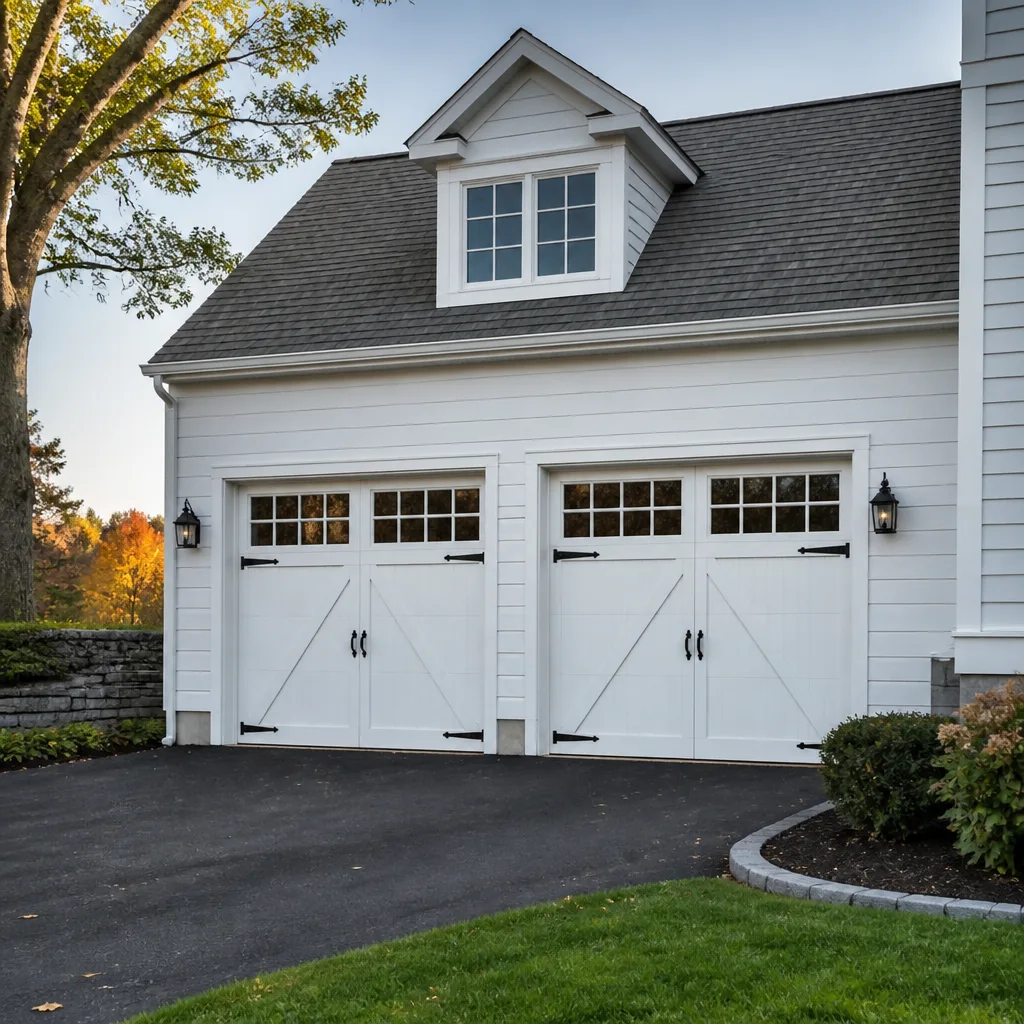 Carriage house
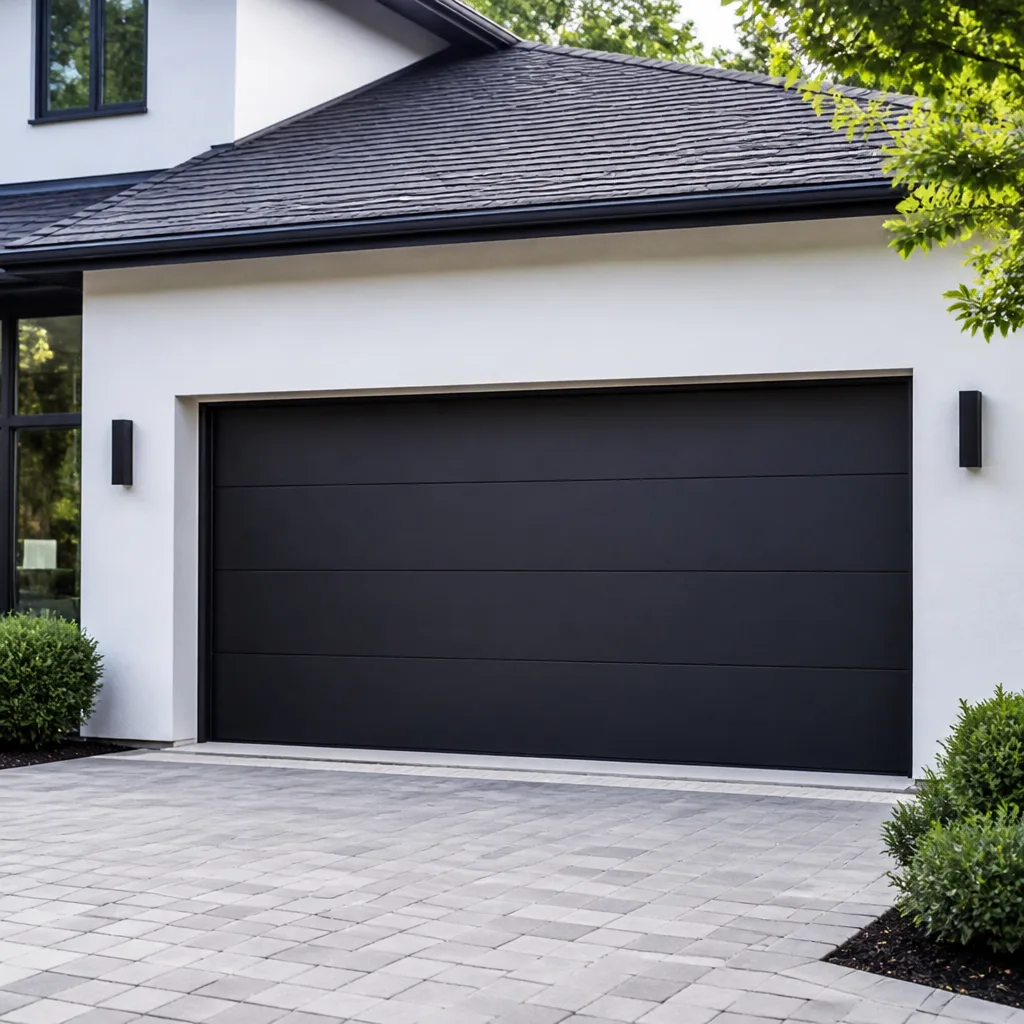 Modern flush
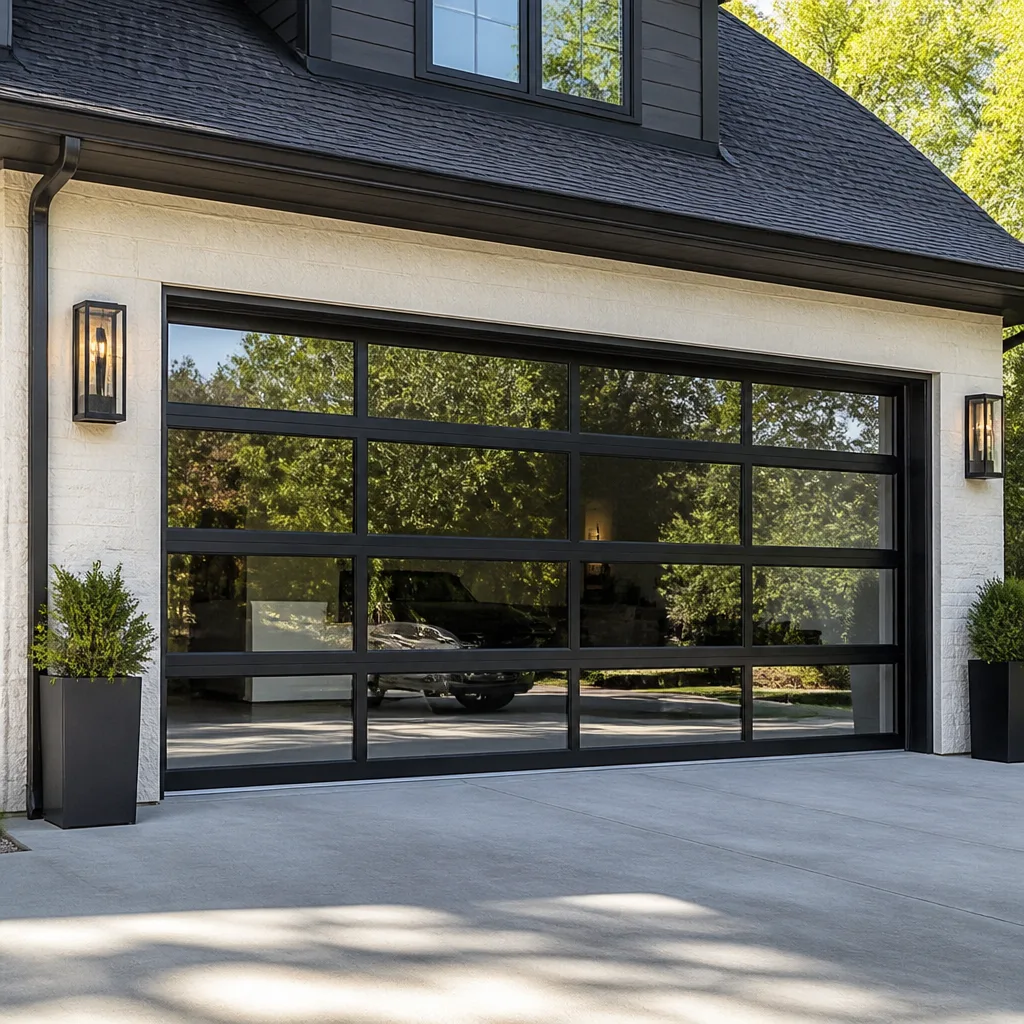 Full-view glass
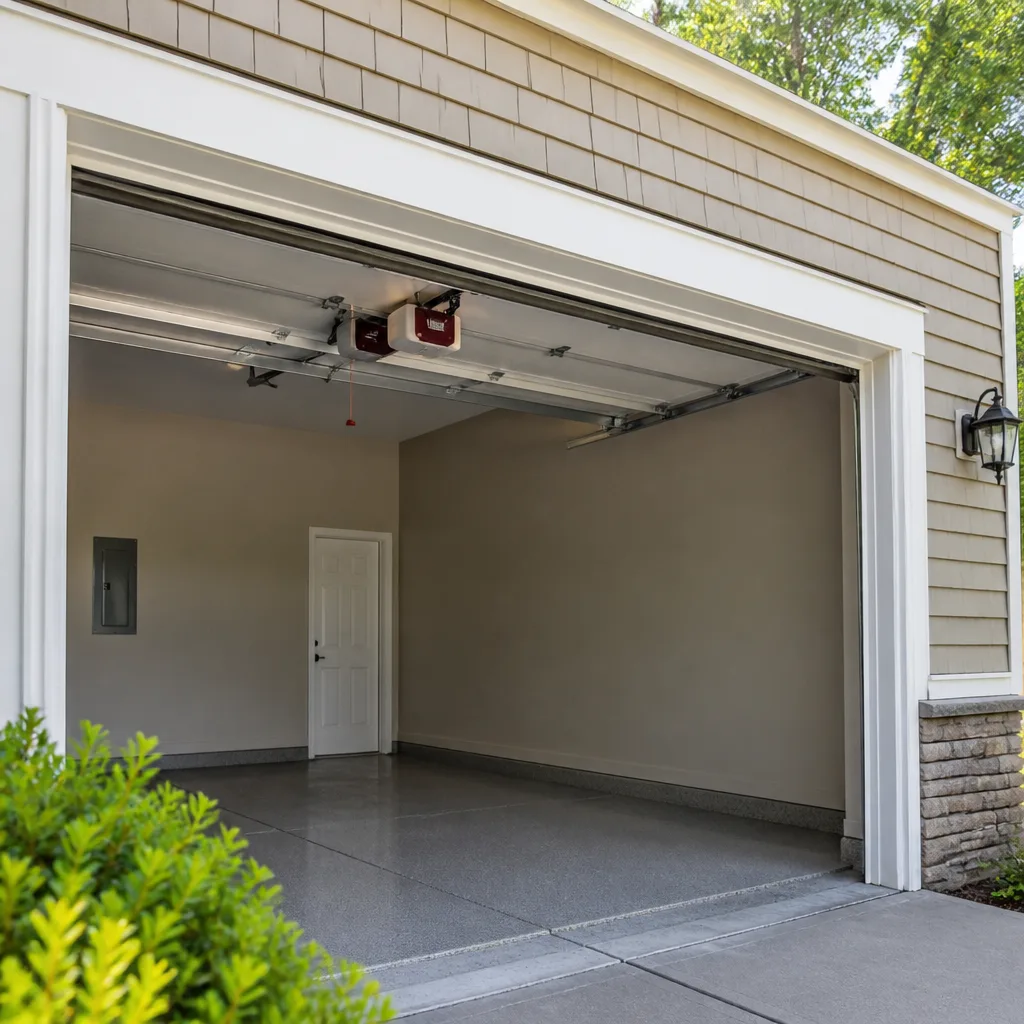 LiftMaster openers
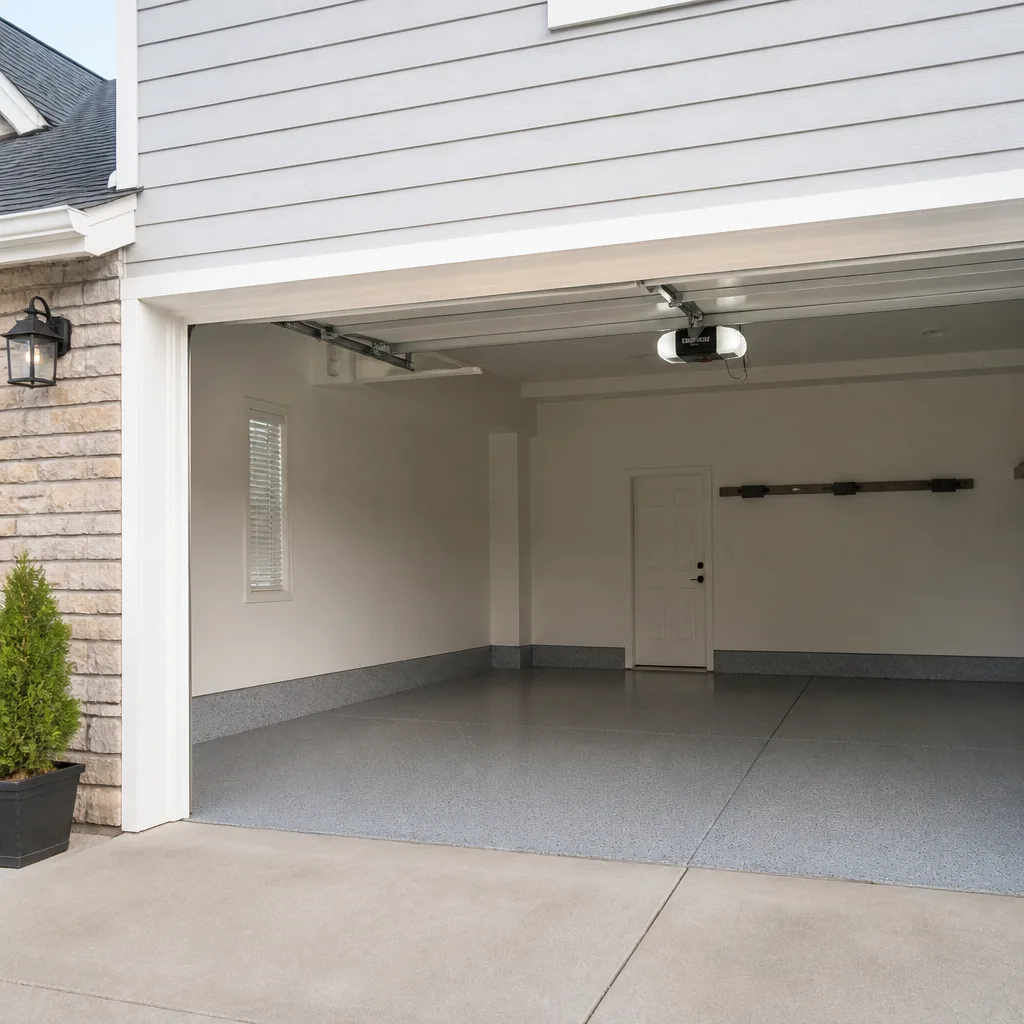 Chamberlain openers
Full 25-point door and opener safety check with every visit - springs, cables, rollers, tracks, and your LiftMaster or Chamberlain opener included
You get a price before we start. It does not change when the pro arrives.
Get your free estimateGarage Door Repair Maintenance Schedule: What to Do and When
Most garage door advice tells you to “service it twice a year” and leaves it there. That’s useless in Elgin, where the door faces a specific sequence of stressors: a wet, heavy freeze-thaw stretch in late winter, a summer of heat and humidity, and a fall where temperatures swing thirty degrees in a day. The number one cause of spring failure in northern Illinois isn’t age. It’s the freeze-thaw cycle in March that nobody lubricates around. A torsion spring that binds through a cold snap and then releases as the temperature climbs is being worked harder than the garage door opener ever works it. This guide lays out a quarter-by-quarter maintenance calendar built around Elgin’s actual weather, the five components that need lubrication and what to use on each, the wear signs that mean a repair call is close, and an honest split between the tasks you can do in ten minutes and the ones where you should stop and call.
Quick Answer
A garage door needs four short maintenance sessions a year, timed to the seasons: a pre-winter check in late fall, a freeze-thaw check in late winter, a spring lubrication before summer heat, and a fall hardware inspection. Each session takes fifteen to thirty minutes. Springs, cables, and the opener’s force settings are not homeowner tasks; lubricating hinges, rollers, and tracks, testing the safety reverse, and clearing the tracks are.
Styles & brands we work with
- Raised-panel steel
- Carriage house
- Modern flush
- Full-view glass
- LiftMaster openers
- Chamberlain openers
Table of Contents
- Why a Climate-Based Schedule Beats a Generic Checklist
- Late Fall: The Pre-Winter Check
- Late Winter: Elgin’s Freeze-Thaw Window
- Late Spring: Lubrication Before the Heat
- Early Fall: Hardware and Balance Inspection
- The Five Components That Need Lubrication (and What Not to Use)
- Wear Indicators You Can Spot Before They Become Repair Calls
- Opener Maintenance by Drive Type: Chain, Belt, and Screw
- Ten-Minute Tasks vs. Stop-and-Call Tasks
Why a Climate-Based Schedule Beats a Generic Checklist
National maintenance guides treat every garage door the same regardless of where it sits. That’s fine in a place with mild seasons, but in Elgin the door goes through a genuinely different load pattern. From roughly December through March, the door operates in cold that stiffens the grease in the rollers and causes metal to contract. When the temperature climbs above freezing and drops again, condensation forms on the steel hinges and track, then freezes. That cycle repeats dozens of times in a bad March. Each freeze-thaw cycle can tighten a roller in its bracket, stiffen a hinge pin, and put extra load on the spring that counterbalances the door’s weight.
What this means in practice is that a door which ran silently in November can start groaning in March, and the fix is often not a repair at all. It’s lubrication applied on the right schedule. We’ve seen plenty of doors in Elgin neighborhoods like West Dundee’s edge, the older housing near downtown, and the newer subdivisions out toward Hampshire where the only real problem was months of unlubricated hinge pins. The repairs that follow a skipped freeze-thaw season are usually bigger: a spring that fails under load, a cable that frays against a stiff roller.
The schedule below is built for that pattern rather than the abstract “spring and fall” advice you’ll read everywhere else. Each session targets the season’s specific stressor. None of them require a ladder, a set of hand tools, or more than half an hour.
One more point on why timing matters more than frequency. Garage door hardware doesn’t wear at a steady rate. It wears in bursts that line up with cold snaps, heat waves, and the transition seasons between them. A door serviced five times in a mild spring but never in a cold March has been under-serviced. A door serviced four times, each session timed to a season, has been maintained properly. The count doesn’t matter. The timing does.
Late Fall: The Pre-Winter Check
Late October and early November are the right window for the first session of the year. The goal is to get the door through the cold months without anything seizing, sticking, or straining under extra load. This is the check that pays for itself most reliably, because everything you prevent in November would otherwise become a March repair call in Elgin.
- Lubricate the hinges and roller stems. A few drops on each hinge pin and roller shaft is enough. Use a garage door or lithium grease, not WD-40 and not bearing grease. More on that below.
- Clear the tracks of grit and debris. Wipe the inside of each vertical and horizontal track with a damp cloth. Don’t oil the tracks; they’re meant to stay dry.
- Test the safety reverse. Put a block of wood or a rolled-up piece of cardboard on the driveway, close the door, and make sure it reverses on contact. Then press the opener’s wall button to close the door and, while it’s moving, wave your hand in front of the safety sensors; the door should stop and reverse. This is one of the few tests worth doing every single session.
- Check the weather seal and bottom rubber. Look for cracks, gaps, or pieces that have pulled away from the door. The seal is what keeps cold air, snow, and pests out of the garage through the winter.
- Listen for the noise the door makes. A door that’s been quiet all summer and starts thumping or squealing as the temperature drops is telling you something’s binding before the real cold hits.
For homeowners with a Clopay or Amarr steel door, the fall check is also the best time to look at the paint or factory finish inside the door and around the bottom panel, where salt from the driveway tends to splash up. A spot of bare metal will rust through a winter of road salt far faster than it will through a summer.
If the door runs smoothly and reverses correctly after the fall session, you’re set. If it starts binding, squealing, or reversing on its own halfway through closing, that’s the point to stop and call. We work on what you already have rather than steering you toward a replacement, so a fall tune-up is usually enough to keep a well-built Clopay or Wayne Dalton door going through the winter without issue.
Late Winter: Elgin’s Freeze-Thaw Window
Late February and through March is the hardest stretch of the year for garage door hardware in northern Illinois. The temperature swings from the twenties to the forties and back within a day, and the door hardware absorbs every one of those swings. Metal contracts overnight and expands the next morning. Condensation forms on hinges, track, and the springs themselves. Any grease you applied in the fall has been thinned or pushed aside by cold and wet cycles. This is why the freeze-thaw window gets its own maintenance session.
What to do during the window, and in roughly this order:
- Re-lubricate the hinge pins, rollers, and spring coils. Even if you did it in the fall. Cold weather and condensation undo a single application faster than any other season. A quick pass on each hinge and each roller stem takes five minutes.
- Look at the torsion springs across the top of the door. You’re checking for two things: a visible gap in the coil (that’s a broken spring, and the door should not be operated), and rust on the coil itself. A light rust film is fine. Heavy, flaking rust means the spring is close to the end of its life and should be looked at before it fails under load.
- Check the cables for fraying. The cables run from the bottom corners of the door up alongside the tracks (on a torsion system) or from the bottom brackets back along the horizontal tracks (on an extension system). Look for broken strands, kinks, or a cable riding off its drum. If you see any of that, stop using the door.
- Test the balance of the door by hand. With the opener disconnected (pull the red release cord) and the door about midway up, the door should hold its position with light pressure. If it drifts down on its own, the springs are under-tensioned. If it rises on its own, they’re over-tensioned. Either one means the door needs adjustment by a trained technician.
- Clear any ice or snow packed against the bottom seal. Snow that freezes against the bottom rubber will eventually tear the seal or pull it out of its channel. A few minutes with a stiff broom after each storm prevents the harder repair later.
This is the window when the freeze-thaw cycle does its quiet damage. Skipping it is how a door that felt fine in November needs a spring repair in April. Our technicians have up to 11 years of experience and know the pattern well: most spring failures in Elgin trace back to a March with no lubrication rather than to a spring that simply reached the end of its life. Both kinds of failure happen, but the neglected one is more common and more preventable.
Late Spring: Lubrication Before the Heat
Once the last freeze-thaw window has passed – usually by mid-April – the next session is a full lubrication pass aimed at getting the hardware through the dry summer. Heat dries out grease. Dust, pollen, and the grit that gets kicked up in an Elgin summer all collect in the rollers and hinges. By August, a door that was smooth in April can be dragging without anyone noticing that it’s dragging.
The late-spring session is the one to be thorough with. Refresh every hinge and roller with the right lubricant, wipe down the tracks, and check the bottom seal for cracks that opened over the winter. Check the opener’s chain or belt (more on that in the drive-type section below) and confirm the safety reverse is still working. If your door has a photo-eye pair mounted at the bottom of the tracks, clean the lenses; spider webs, dust, and pollen will cause phantom reverses that make the door act like it’s malfunctioning when it isn’t.
This session is also the right time to look at the opener’s housing and mounting. A Wayne Dalton or Clopay door paired with a Genie or LiftMaster opener is a common combination in Elgin, and the opener bracket that anchors the rail to the wall above the door takes a beating over a winter of cold cycles. Look for loose bolts at the header bracket. A rattle you hear when the door moves an inch or two at the top is often a mounting bolt that needs a quarter turn.
If the door runs clean and the opener cycles normally after this pass, the door is set for summer. If a roller is loose in its bracket, a hinge has a cracked leaf, or the door runs rough after lubrication, that’s a repair call, not a maintenance issue. The difference is worth understanding: maintenance is what keeps the door smooth. A repair is what puts a broken component back into service. No amount of lubrication fixes a cracked hinge leaf, and a hinge that keeps failing after being greased is telling you it’s reached the end of its life.
Early Fall: Hardware and Balance Inspection
Before the cold settles in, usually in late September or early October, do a full inspection pass. The fall inspection is the most thorough of the four sessions because it’s the last chance to catch a problem before winter or a repair becomes more urgent than it needs to be.
- Inspect every hinge. Hinges are numbered starting from the bottom of the door (hinge #1 at the bottom corner, working up). Look for hairline cracks in the metal leaf, elongated screw holes, and discolored or bent leaves. Discoloration (a bluish or darkened tint on the steel) often means the hinge has been binding and heating up under load, and it’s about to fail.
- Look at the roller stems and brackets. Nylon rollers should spin freely; a roller that’s stopped spinning is dragging and will wear a flat spot into itself. Steel rollers are more durable but noisier, and rust on a steel roller stem is normal; rust on the roller itself is not.
- Check the gap at the floor. Close the door and look across the bottom. An uneven gap means the door is out of balance or one side is riding lower than the other. A gap on one side only is the classic sign of a stretched cable or a failing spring on that side.
- Test the safety reverse and the photo-eye sensors. Same test as the fall session, done again because the sensors are the safety feature that matters most, and the fall is when you’re most likely to find they’ve drifted or gotten dirty.
- Check the balance by hand. Disconnect the opener, lift the door to the midway point, and check that it holds. If the door drifts, the door needs spring adjustment. This is not a homeowner task.
Look closely at the door’s panels too. A dented or rusted panel on a Clopay or Amarr door is often the start of a problem that runs deeper than the panel itself: a bent section can cause the door to bind as it moves, which wears the rollers and puts extra load on the springs. If you spot a bent panel, don’t ignore it until the next spring check. Get it looked at before the door starts running rough and the repair becomes more than a panel.
The Five Components That Need Lubrication (and What Not to Use)
The five components that benefit from lubrication are the hinge pins, the roller stems, the torsion spring coils, the opener’s chain or screw drive, and the lock (if you have a manual slide lock). Each takes a different product, and the wrong one does more harm than good. This is one of the more misunderstood parts of garage door maintenance, and the wrong lubes are one of the more common causes of avoidable door problems we see in Elgin.
- Hinge pins. Use a garage door or white lithium grease. A few drops per hinge pin, applied once per session, is enough. Not WD-40, not engine oil, not silicone spray.
- Roller stems. Same product as the hinges. Aim at the stem and the bearing, not the roller’s contact surface (the part that rides in the track). The roller’s tread stays dry, which is what you want – the track is designed for metal or nylon on clean steel.
- Torsion spring coils. A quick pass with a garage door spray lubricant on the coil is all that’s needed. Don’t saturate the spring or get grease on the drum; a greasy drum attracts grit and wears the cable faster.
- Opener chain or screw drive. Chain and screw drives use a garage door opener grease (a low-temperature lithium is what most manufacturers call for). Don’t use chain lube designed for motorcycles or bicycles; it’s a different formula, and it will fling off the chain into the opener housing. If you’re not sure which product your opener calls for, check the manual for your Genie or LiftMaster model; the specification matters.
- Manual slide lock (if fitted). A drop of light oil on the lock mechanism is fine. Silicone spray also works, but don’t use grease; it makes the lock hard to turn in cold weather.
Two common substitutes damage garage door hardware and should never be used on it. WD-40 is a solvent-based product; it cuts grease and displaces water but doesn’t provide lasting lubrication, and repeated use actually strips the grease you need on a hinge pin. Bearing grease is the other culprit. It’s the right consistency for a wheel bearing, but it’s too thick for garage door hardware; in cold weather it hardens and makes a hinge bind instead of lubricating it. A door lubricated with bearing grease will often run stiffer in January than a door that was never touched at all.
Wear Indicators You Can Spot Before They Become Repair Calls
Most garage door repairs in Elgin are not surprises. They’re wear signs that were visible for months and then got ignored until the component failed. If you know what to look for during your quarterly checks, you can catch almost all of them before they become a call.
- Fraying cables. Cables are made of braided steel wire. Look for broken individual strands poking out, kinks, or rust on the cable near the drum. Fraying cables are one of the most dangerous situations on a garage door; if you see one, stop operating the door and call.
- Uneven gap at the floor. A gap that’s larger on one side than the other, even by half an inch, usually means a spring on one side is losing tension or a cable is stretched. It gets worse slowly. Catch it early and the spring or cable can be replaced before it fails completely.
- Hinge discoloration or cracking. The leaf cracking, the rivet wearing, or the metal turning a darker color means the hinge is binding under load. A single cracked hinge is a cheap fix. A hinge that fails under load can drop the door, which is not.
- A door that reverses on its own without an obstruction. Usually the photo-eye sensors are misaligned or dirty, rarely a sign of a larger opener issue. Clean and re-align first; if the phantom reverses continue, the opener’s logic board or force setting is where a technician looks next.
- A loud bang from the garage when the door is opened. That’s the sound of a torsion spring breaking. The door should not be operated after that. A door with a broken spring is a danger to anyone under it, and the opener can’t safely lift it.
- An opener that strains or stalls on the way up. Usually a door that’s out of balance, meaning the springs aren’t doing their job. The opener is designed to lift a balanced door; when it’s lifting an unbalanced one, the motor works harder and the door moves slower on the way up. Left alone it eventually fails.
The point of knowing these signs is not to make you an expert on the door. It’s to make you the person in the household who knows when to call instead of waiting for the failure. A wear sign spotted on a quarterly check is a scheduled repair. A wear sign ignored for six months is usually an emergency call from the driveway with a door stuck halfway open.
Opener Maintenance by Drive Type: Chain, Belt, and Screw
The opener’s drive mechanism isn’t maintenance-free, but each type has its own specific needs. In Elgin, a lot of older homes still run a Craftsman or Genie chain drive; newer builds and remodels tend toward a belt drive from LiftMaster or Chamberlain. Screw drives are less common but still come up. The maintenance differs by drive type, and getting it wrong on a belt drive can shorten the belt’s life.
Chain drive (Craftsman, Genie, most legacy openers). The chain needs a light coating of garage door opener grease on the pins and the length of the chain. A chain that runs dry will stretch over time and start skipping on the sprocket; you’ll hear a rhythmic clunk as it moves. Don’t over-grease the chain. Excess grease flings off into the opener housing and mixes with dust into a paste that eventually causes the chain to bind.
Belt drive (LiftMaster, Chamberlain, most newer systems). Belt drives are quieter than chains and need very little maintenance, which is why belts are common in the newer Elgin subdivisions. Belt tension is the main check. A belt that’s too loose will slip; a belt that’s too tight will wear the pulleys. Belts are not greased the way chains are; a dry belt runs clean. If your opener’s manual calls for belt tension adjustment, that’s a job for a technician with the right gauge rather than a guess in the driveway.
Screw drive (Genie and a few others). Screw drives are the simplest of the three, and many are designed to run without added lubrication. The screw thread is usually coated with an engineered lubricant at the factory, and adding field grease can cause the door to run rough as the extra grease mixes with dust. If the screw isn’t running smooth, the right step is to clean it with a dry cloth rather than add lubricant. Check the manual for the model before applying anything.
Across all three, check the opener’s mounting bracket above the door and the header bracket at the wall, and confirm the rail connecting the two is level. A rail that’s out of level from a settling house or a loose bolt will make any drive type run harder than it should. That’s a quick look each session, not a ten-minute job.
Ten-Minute Tasks vs. Stop-and-Call Tasks
An honest maintenance schedule has to account for what a homeowner can realistically do. Here’s how the four sessions break down.
Under ten minutes, safe for a homeowner: Lubricating hinge pins, roller stems, and the spring coils. Wiping down the tracks. Cleaning the photo-eye lenses. Testing the safety reverse. Checking the bottom seal. Listening for new sounds.
Fifteen to thirty minutes, safe for a homeowner: A full fall inspection of hinges, brackets, and roller stems. Balanced check by hand with the opener disconnected. Opener chain greasing (chain drives only). Checking the opener’s mounting bolts.
Stop and call: Anything involving the torsion springs, the cables, the spring adjustment, the opener’s force settings, or the door’s balance adjustment. These are the tasks where a mistake means serious injury, and where the adjustment is more finicky than it looks. A torsion spring under tension stores an enormous amount of energy. A cable under load can snap. A door that comes off a track mid-operation can fall. None of these are worth doing yourself, and a garage door technician’s labor on them is short and quick when the springs and cables are what the call is about.
In our experience, the honest split is that about 80 percent of quarterly maintenance is homeowner-doable, and the remaining 20 percent is what determines whether the door lasts another fifteen years or fails in the next cold snap. It’s not a matter of complexity. It’s a matter of risk. A homeowner can safely lubricate a hinge. A homeowner should not be adjusting a spring.
Common Mistakes to Avoid
- Treating maintenance as a “whenever I remember” task. The timing matters more than the frequency. A full-service door inspection in July does nothing for the freeze-thaw window in March. The four sessions each land on a specific seasonal stressor, and skipping one shifts the load onto the next.
- Using WD-40 as a lubricant. It’s a solvent-based spray, not a garage door grease. It strips existing lubrication and leaves hinge pins dry the second the product evaporates. The right product for hinges and roller stems is a garage door grease, not a multi-use spray.
- Assuming the door’s balance is an opener problem. An opener that strains on lift is usually reacting to an unbalanced door, not failing on its own. Adjusting the opener’s force setting can make the door move but doesn’t fix the springs, and running with the force setting cranked up is what burns out a motor.
- Oiling the tracks. Garage door tracks are meant to stay dry. They collect grit, and oil turns that grit into a paste that drags on the rollers. Clean them, don’t lubricate them.
- Ignoring the photo-eye sensors through the winter. The sensors are the safety feature that stops the door on something in its path. Snow, salt spray from the driveway, and the dust of a dry Elgin winter all coat the lenses. A misaligned or dirty pair causes phantom reverses that get misdiagnosed as opener failures.
- Greasing a belt drive like a chain drive. They’re different systems. A dry belt runs clean; a greased belt collects grit and slips. Check the manual for your model before applying anything.
- Running the door with a visible wear sign. A cracked hinge, a fraying cable, a spring with a gap in the coil, an uneven gap at the floor – each of these is telling you something is close to failing. Running the door “one more time” until the failure happens is what turns a small scheduled repair into a bigger one.
See the difference
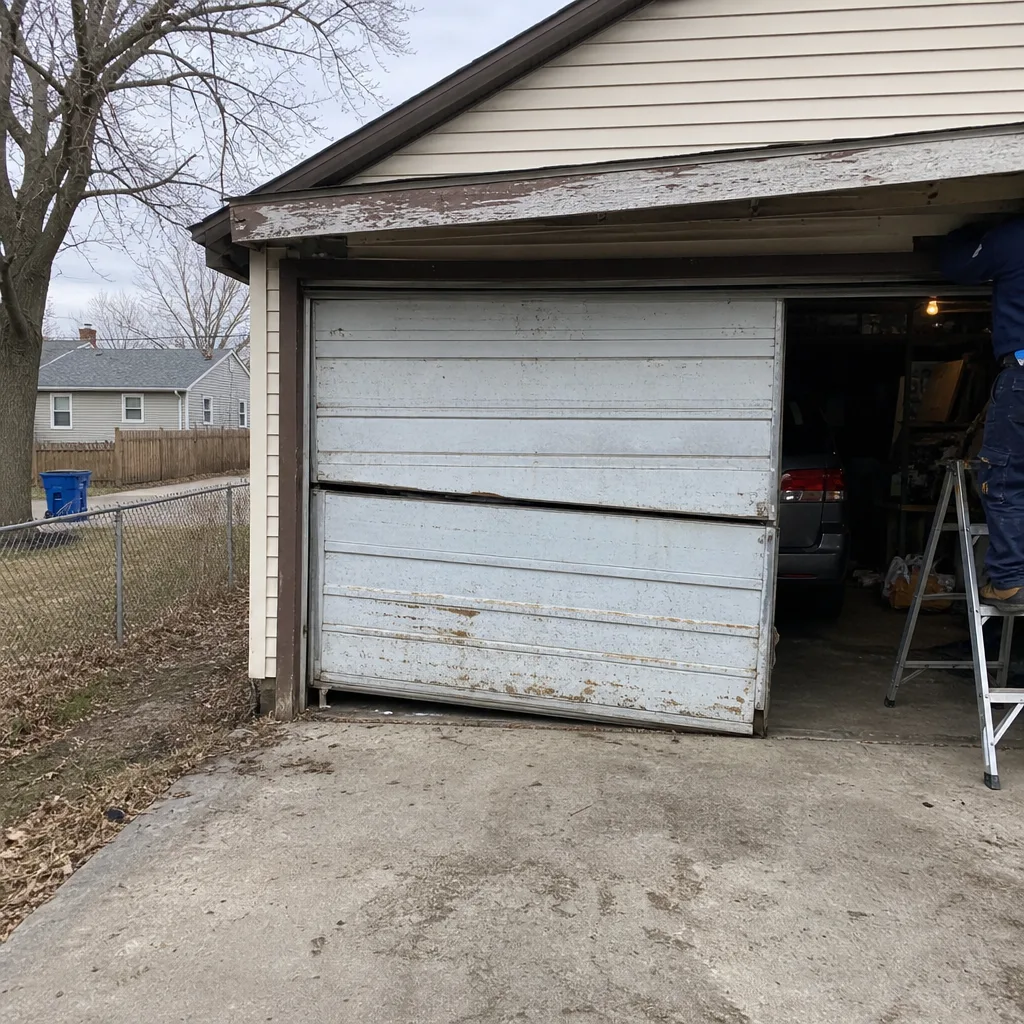 Before
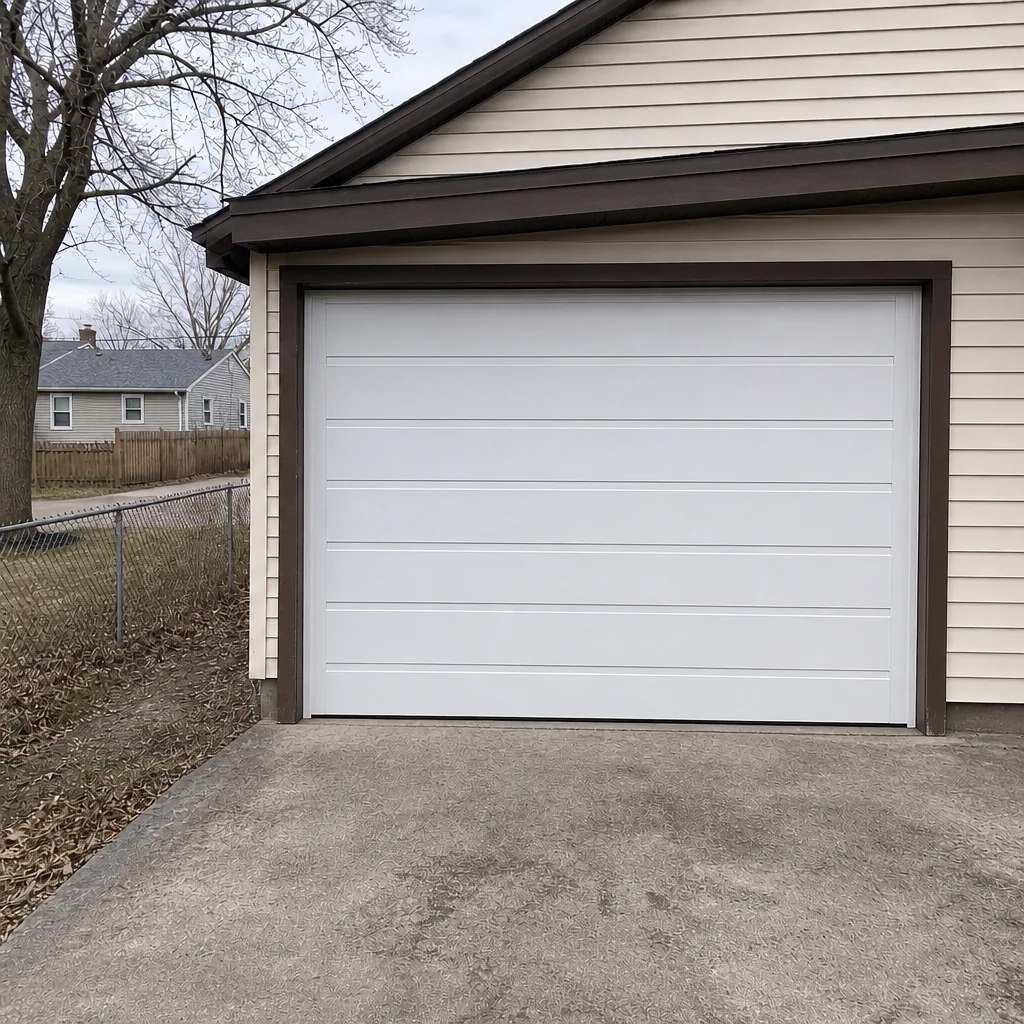 After
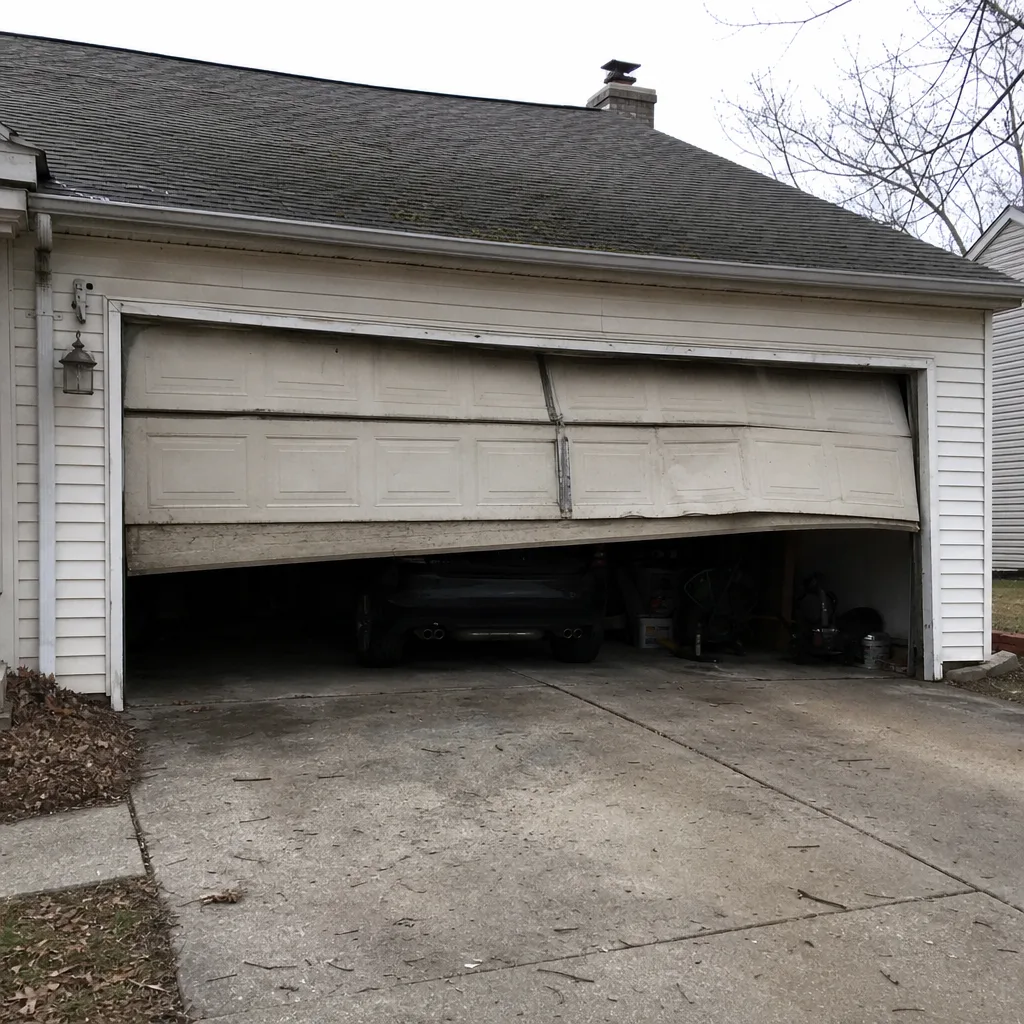 Before
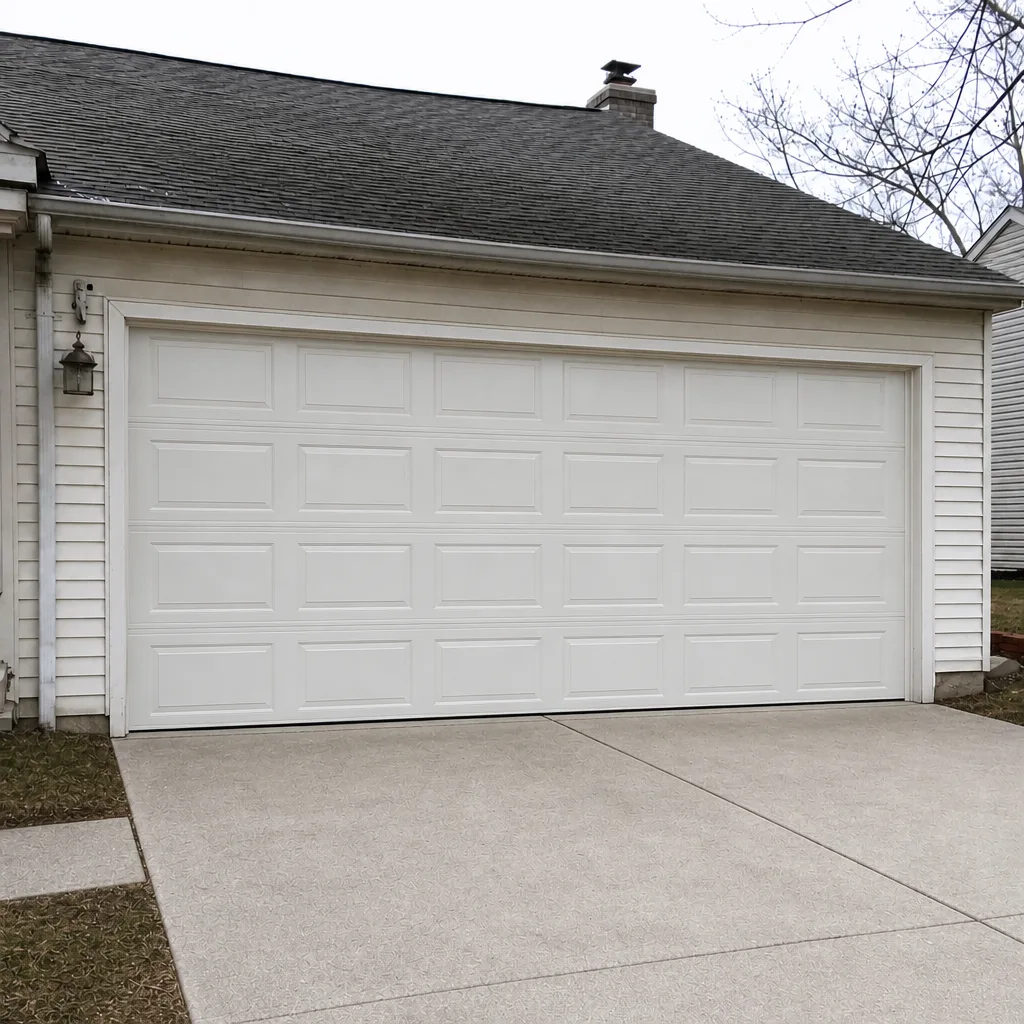 After
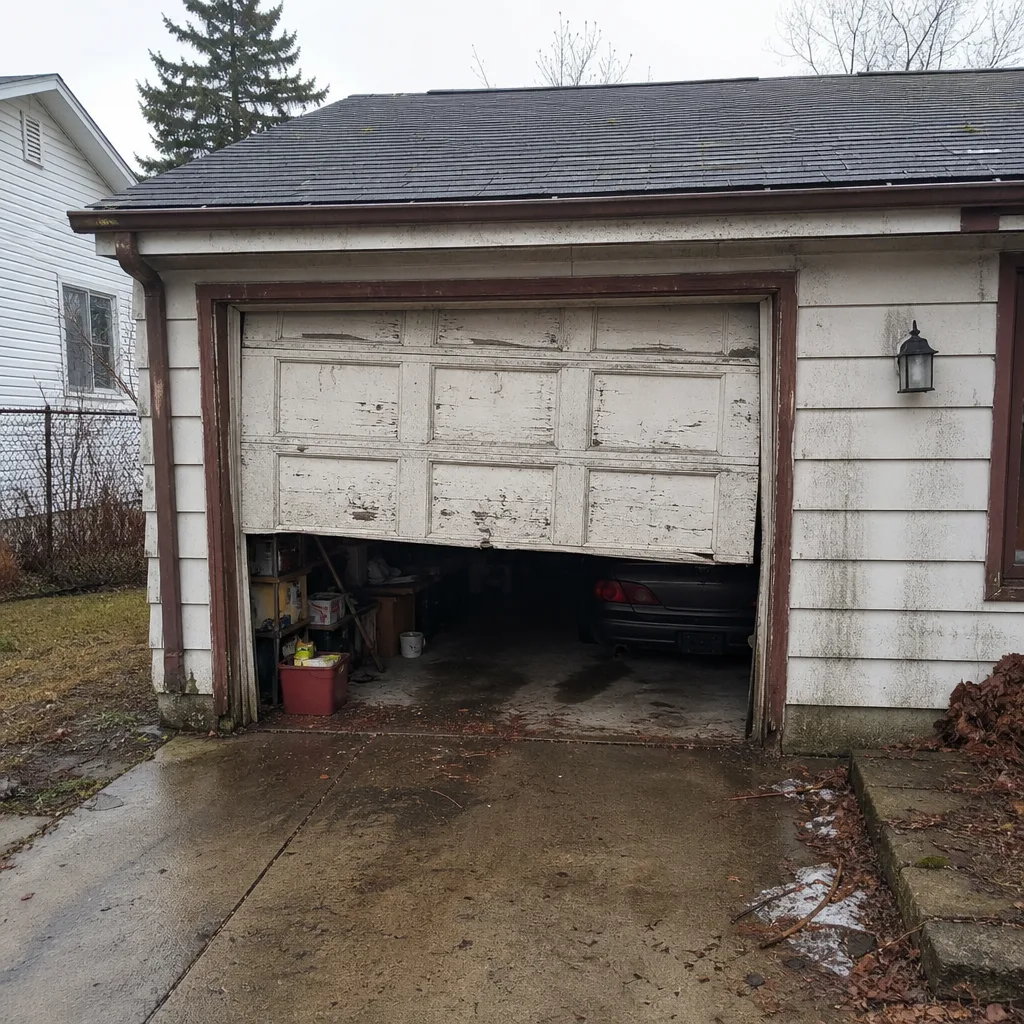 Before
 After
When to Call a Professional
Call a professional if you see any of the following: a spring with a visible gap in the coil, a cable that’s frayed, kinked, or loose, a door that won’t stay up when disconnected and lifted halfway, a door that reverses on its own when nothing’s in the way, or an opener that strains, grinds, or won’t complete a full cycle. Those are the cases where a garage door technician’s diagnosis is worth more than a homeowner’s guess, and where the risk of working on it yourself is genuinely high.
Ridgeway Garage Door Repair offers free estimates in Elgin. We work on LiftMaster, Chamberlain, Genie, Clopay, Amarr, Wayne Dalton, Craftsman, and Raynor systems, and technicians arrive already familiar with the door and opener you have. Call (844) 320-7553 for a free estimate. We answer 24/7, and fast dispatch from 7am to 7pm means we can usually get a technician out the same day the scheduling allows. If you’re in Elgin or a nearby town like West Dundee, South Elgin, or Hampshire, garage door repair is the service line for maintenance issues that turn into repairs. For a door that’s stopped working altogether, garage door opener repair covers the opener’s own systems, and for anything involving the door itself – springs, cables, tracks, panels – a technician from Ridgeway Garage Door Repair can diagnose and repair. New installation is the third part of what we do, and it’s where we point a homeowner when the honest answer is that a door is past repair. Our Elgin service area is where we do most of our work.
Frequently Asked Questions
Four times a year, timed to the seasons: a pre-winter check in late fall, a freeze-thaw check in late winter, a lubrication pass before summer, and a hardware inspection in early fall. The four sessions matter more than the count; a door serviced five times in a mild season has been under-serviced, and a door serviced four times, each session timed to a seasonal stressor, is properly maintained.
About 80 percent of it, yes. Lubricating hinge pins and roller stems, wiping down the tracks, cleaning the photo-eye sensors, testing the safety reverse, and checking the bottom seal are all manageable for a homeowner. The tasks to leave to a technician are anything involving the torsion springs, the cables, the spring adjustment, and the opener’s force settings. Those store too much energy and require too much precision for a homeowner job. Call (844) 320-7553 for the rest; estimates are free.
A garage door or white lithium grease designed for the purpose. Apply a few drops per hinge pin and roller stem. Avoid WD-40 (it’s a solvent, not a lasting lubricant) and bearing grease (too thick; it hardens in cold weather). The right product is cheap and available at any hardware store in Elgin, and it’s the single highest-impact part of the maintenance schedule.
Northern Illinois’s March freeze-thaw cycle is the hardest month of the year for garage door hardware. Metal contracts overnight and expands the next morning, condensation forms on hinges and springs, and any grease applied in the fall gets thinned by cold and wet cycles. A regular lubrication pass during the freeze-thaw window prevents most spring failures, which is why it gets its own maintenance session in this schedule.
A visible gap in the spring coil, heavy rust on the coil, frayed or kinked cables, a door that drifts when disconnected and lifted halfway, or a door that runs unevenly with a gap at the floor on one side. Any of those warrant a stop-and-call, not a maintenance pass. Springs and cables are under significant tension at all times, and a trained garage door technician is who should be adjusting or replacing them.
Yes, in a few specifics. Chain drives need a light coating of garage door opener grease on the chain; belt drives run dry and primarily need a tension check; screw drives generally run without added lubricant and are cleaned rather than greased. Across all three, check the mounting brackets, the header bracket, and the rail level each season. Check the manual for your specific Genie, LiftMaster, or Chamberlain model to confirm the product and the specification.
The Bottom Line
A garage door maintenance schedule works when it’s tied to real weather, not a generic checklist. In Elgin, the four sessions that matter are a fall pre-winter check, a freeze-thaw check through March, a lubrication pass in late spring, and a hardware inspection in early fall. Each session takes fifteen to thirty minutes. Most of the work – lubrication, track cleaning, sensor testing, seal checks – is genuinely doable by a homeowner. The 20 percent that isn’t is the part that determines whether the door lasts another fifteen years or fails in the next cold snap, and that’s the part a garage door specialist handles quickly. Our technicians have up to 11 years of experience, and they arrive familiar with the door and opener in your garage – whether that’s a Genie chain drive, a Wayne Dalton door, a LiftMaster belt drive, or anything else. Eight brands, one number to call. The freezer-thaw window in Elgin comes whether or not the door is ready for it. If you’d rather have a trained eye confirm the door’s condition before the next season hits, call (844) 320-7553 for a free estimate. We answer 24/7.
Written by the team at Ridgeway Garage Door Repair.