
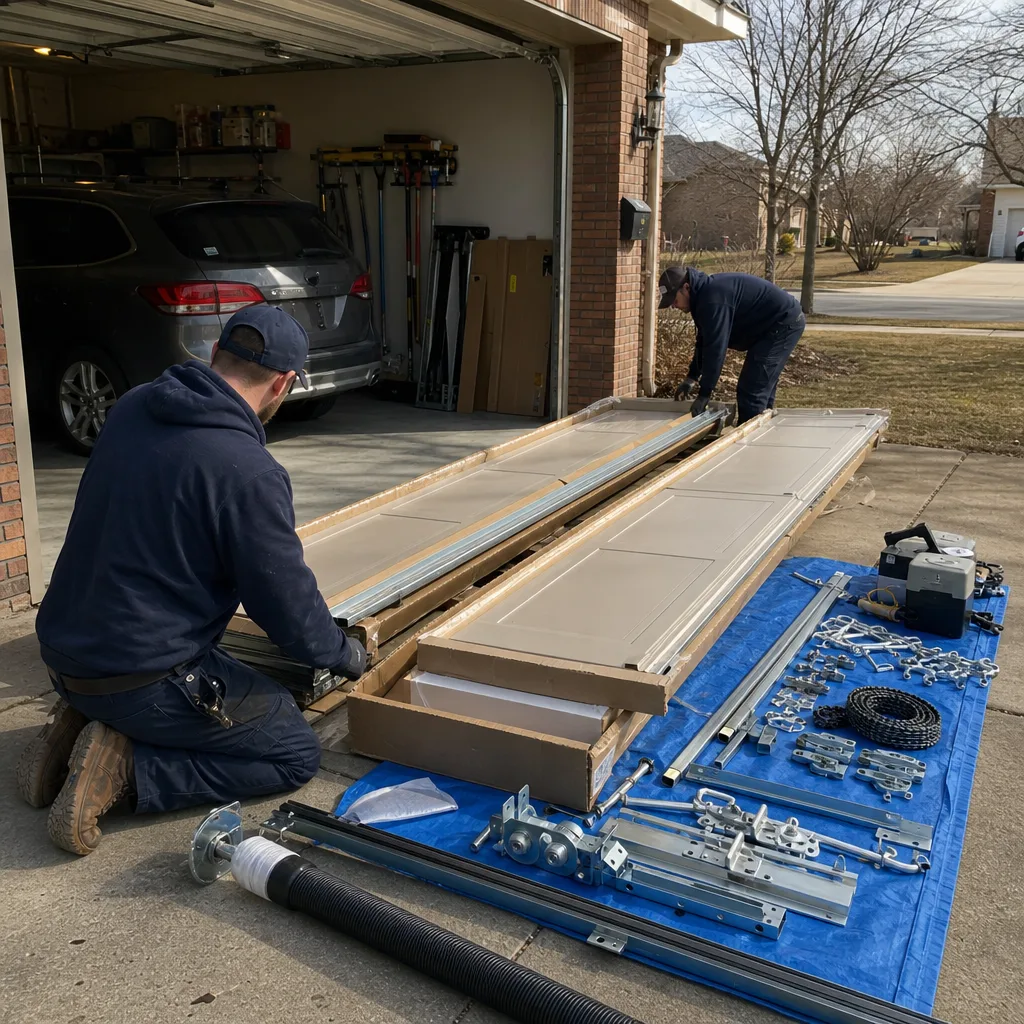
Last updated November 15, 2026
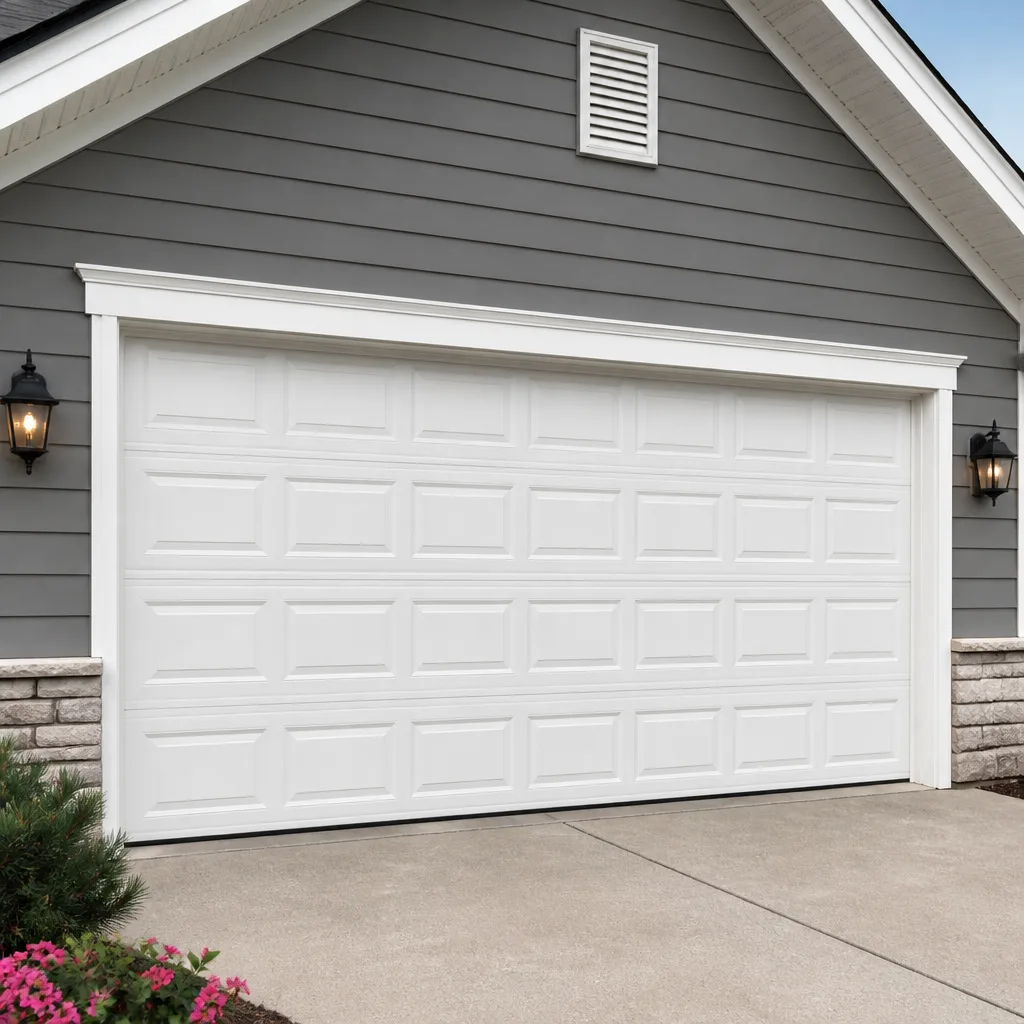 Raised-panel steel
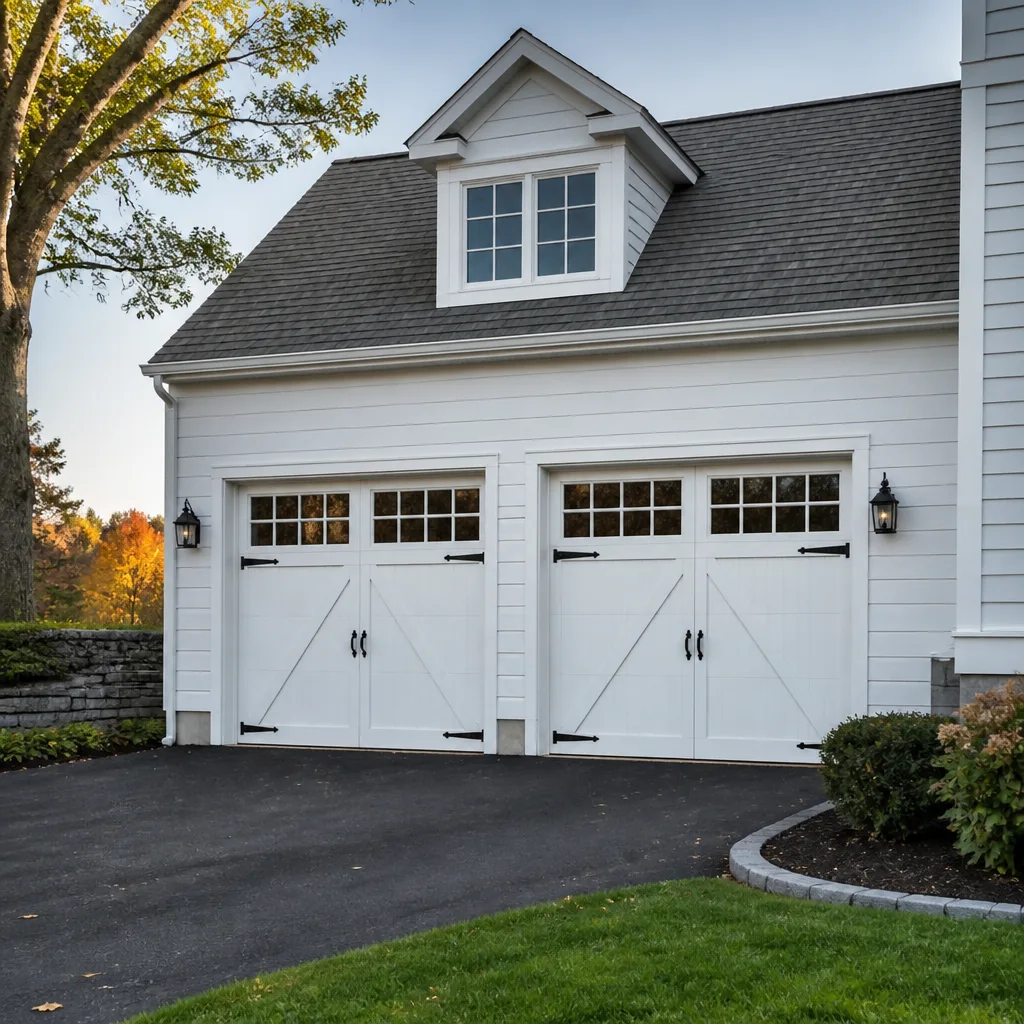 Carriage house
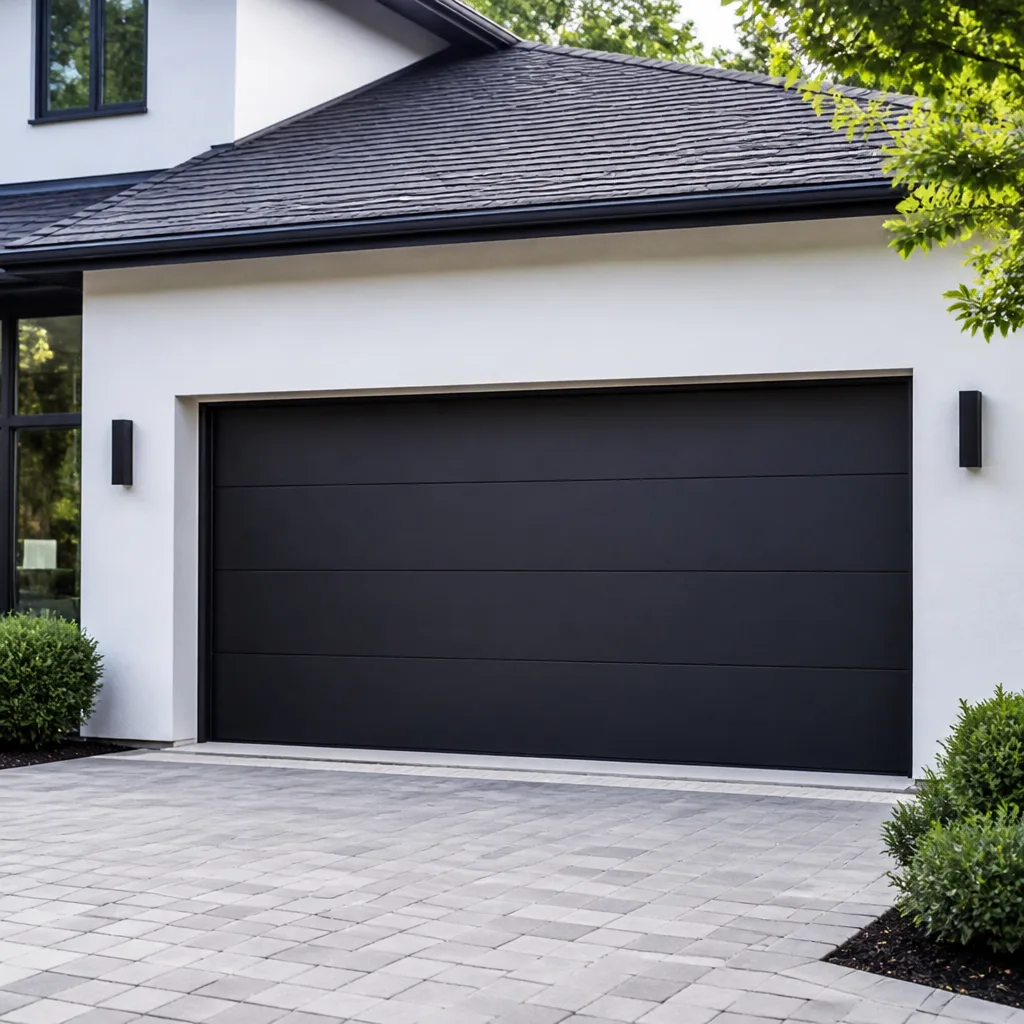 Modern flush
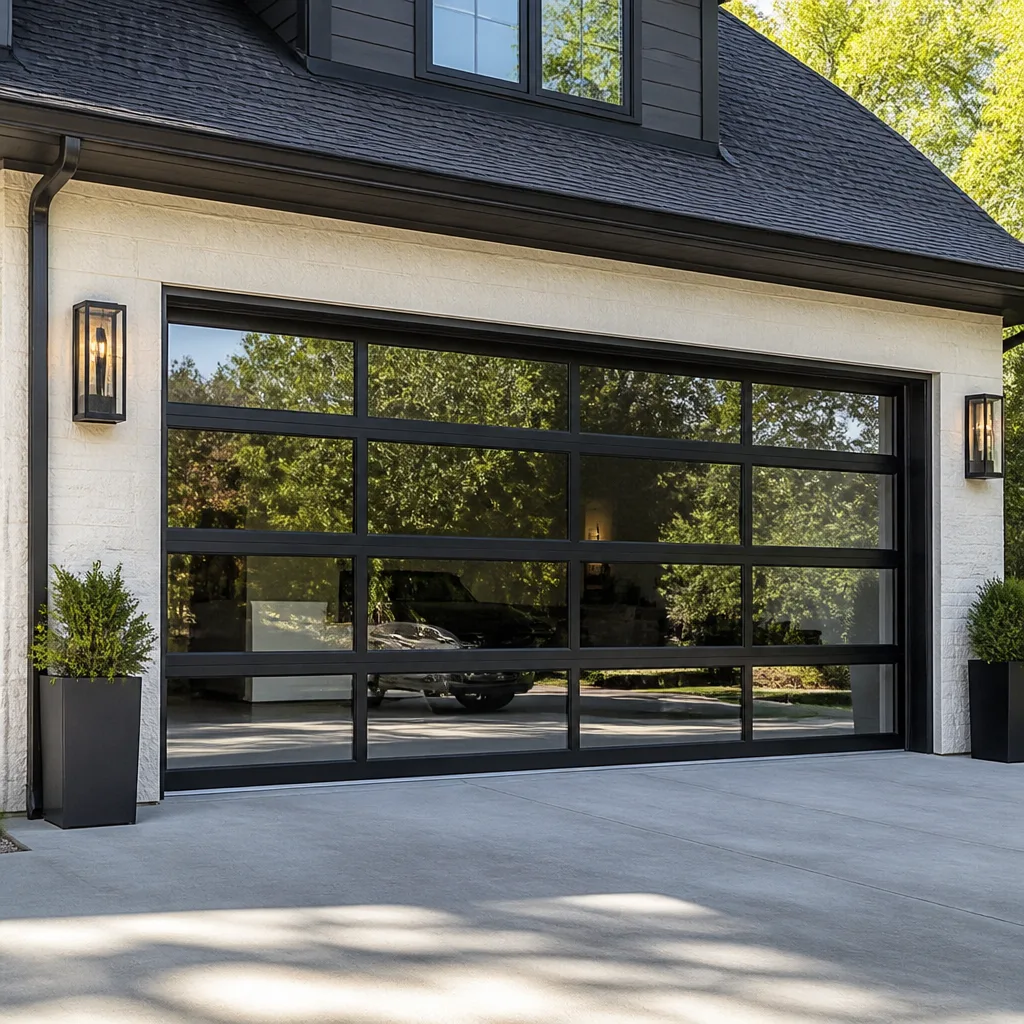 Full-view glass
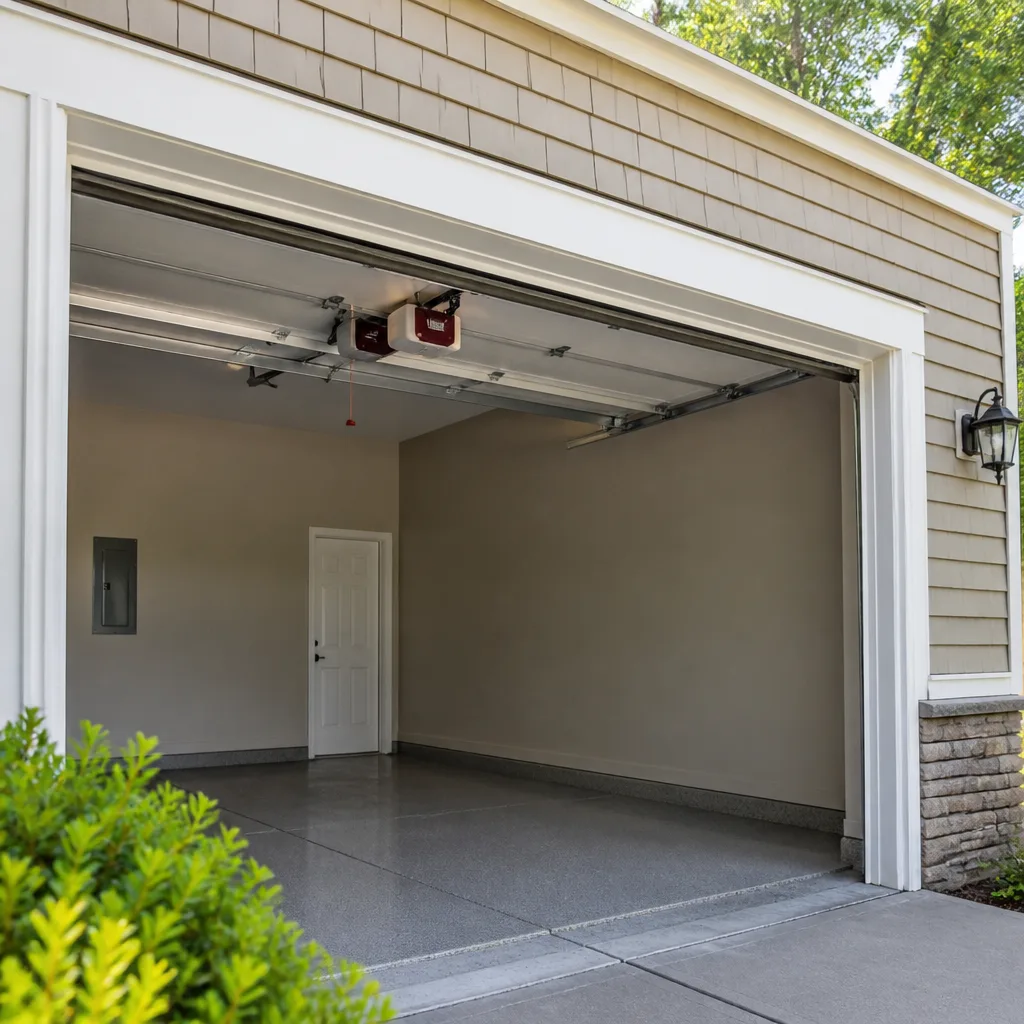 LiftMaster openers
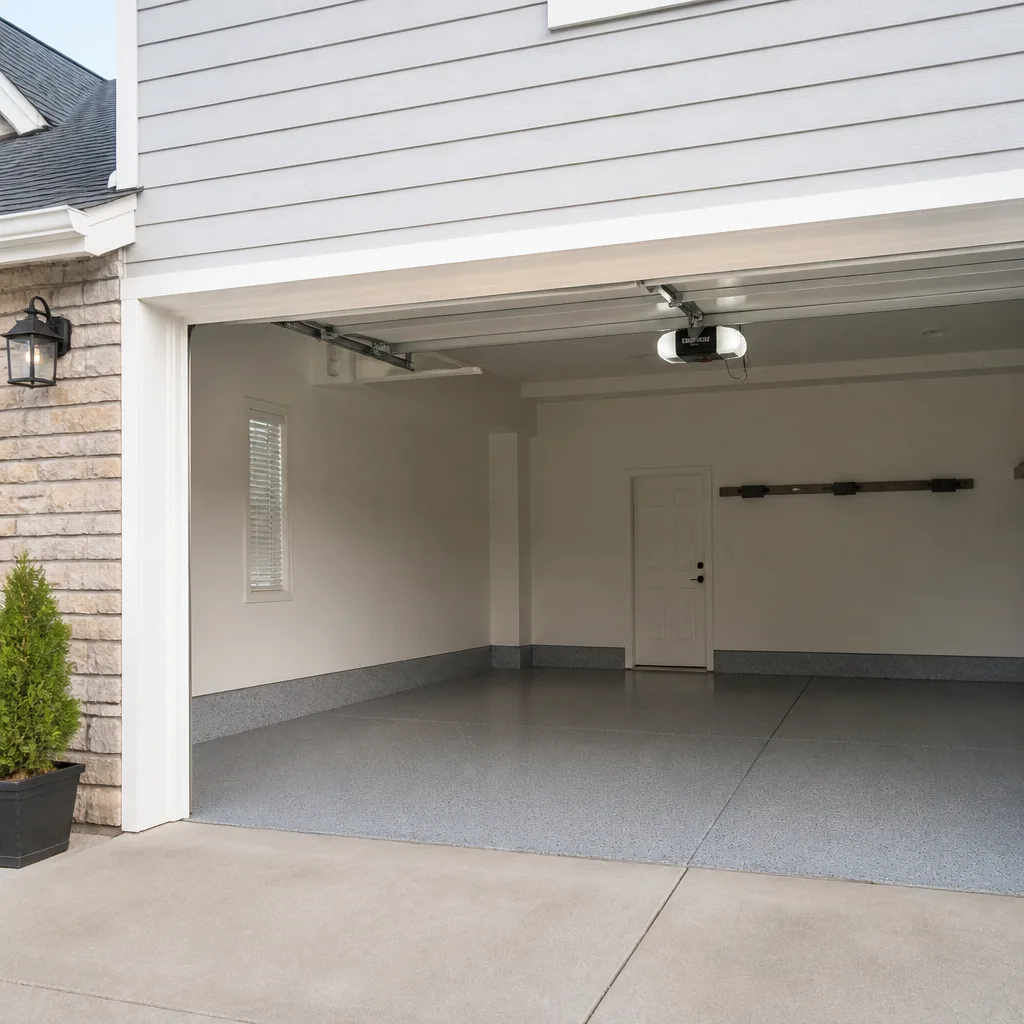 Chamberlain openers
Full 25-point door and opener safety check with every visit - springs, cables, rollers, tracks, and your LiftMaster or Chamberlain opener included
You get a price before we start. It does not change when the pro arrives.
Get your free estimateGarage Door Repair Maintenance Checklist for Elgin Homeowners
Four out of five garage door service calls involve a component that showed a detectable warning sign weeks earlier. The homeowner just didn’t know what to look for. Most people treat the garage door as invisible infrastructure, right up until the morning it won’t open, and by then the repair has moved from inexpensive upkeep to a real problem. This guide is built backwards from the repairs Elgin technicians actually perform most often, so every task exists for a reason, not just to fill a checklist. You’ll learn which components fail first in Northern Illinois weather, which chores are safe to do yourself, which ones you should never touch, and how a 90-second monthly walk-around catches the majority of developing breakdowns.
Quick Answer
A practical garage door maintenance checklist for Elgin homeowners covers four things: a monthly visual and balance inspection, lubrication of moving parts every few months with the correct product for each component, seasonal checks before and after the freeze-thaw cycles of a Northern Illinois winter, and an annual professional inspection of springs, cables, and the opener. The tasks that prevent the most common repairs involve the rollers, hinges, tracks, and weather seal. Spring and cable work is never a DIY task because of the stored tension involved.
Styles & brands we work with
- Raised-panel steel
- Carriage house
- Modern flush
- Full-view glass
- LiftMaster openers
- Chamberlain openers
Table of Contents
- Why Elgin Repairs Start With Failure Patterns, Not Generic Checklists
- The 90-Second Monthly Self-Inspection
- Which Lubricant Goes Where (and Why the Wrong One Wears Your Door Out)
- Seasonal Timing for Elgin’s Freeze-Thaw Cycles and Summer Humidity
- DIY-Safe Maintenance vs. Tasks That Carry Real Injury Risk
- What to Check on Your Opener (and When to Stop)
- The Top Five Repairs This Checklist Is Built to Prevent
- When to Call a Professional
Why Elgin Repairs Start With Failure Patterns, Not Generic Checklists
A generic maintenance checklist tells you to “inspect and lubricate” and leaves it there. That advice gets ignored because it doesn’t explain what happens if you skip a step or what a problem looks like before it becomes a repair call. We built this checklist the other way around: start with the repairs that actually come up most in Elgin, then work out which tasks would have prevented each one.
When we look at garage door repair patterns across Elgin neighborhoods like Downtown Elgin, the west side near Route 31, and the older homes along the Fox River, the same four or five problems keep showing up. Worn rollers that fill the house with noise. Hinges that bind and stress the opener. Tracks that drift out of alignment after a hard freeze. Seals that crack and let cold air and water into the garage. And opener gears or logic boards that fail because the door was left in a state of drag for months.
What the pattern tells you
- Most repairs trace back to something you could have seen: sound, drag, vibration, visible wear.
- The cheapest prevention is lubrication and visual checks, not parts replacement.
- The most expensive prevention failure is the opener, because it works harder when the door itself isn’t moving freely.
- Springs and cables fail eventually no matter what you do; the goal is knowing when, not preventing forever.
That’s why this checklist is organized around the top five repair calls and the specific failure pathway that leads to each one. If you follow it, you’ll spend a few minutes a month and catch almost everything that develops slowly, which is how most garage door problems behave.
What a maintenance checklist can’t fix
One honest caveat: this checklist won’t keep a spring from breaking or a cable from snapping. Those are wear parts with a finite life, and their failure is a matter of when. What the checklist does is help you notice the door behaving differently before the spring goes, so you’re not caught off guard with a door stuck down and a car trapped inside. If you want to know what a repair actually looks like when a failure happens, our garage door repair page walks through the process.
The 90-Second Monthly Self-Inspection
This routine takes about 90 seconds and catches most developing problems. Do it once a month, ideally on the same day so it becomes habit. All you need is a clear line of sight and your ears.
Step 1: Watch the door open and close
- Stand back and watch the full open-and-close cycle. Look for jerky motion, hesitation, or the door moving unevenly on one side.
- Listen. A steady hum is fine. Grinding, scraping, or a sharp pop is not.
- Check that the door runs smoothly and doesn’t rattle in its tracks.
Step 2: Do the balance test
- Disconnect the opener using the manual release (the pull cord).
- Lift the door halfway up by hand and let go.
- A door in good balance should stay roughly where you put it. If it slams down or shoots up, the spring tension is off and needs professional attention.
- Reconnect the opener when you’re done.
Step 3: Eyeball the hardware
- Look at the tracks for bends, gaps, or debris.
- Wiggle the rollers gently. Any that feel loose, wobbly, or visibly cracked need replacing.
- Check the hinges for rust or bent leaves.
- Run a hand along the bottom weather seal and look for cracks or gaps.
- Look at the cables. If you see fraying or loose wire strands, call a professional before using the door again.
This inspection is safe and genuinely useful. It doesn’t require touching springs or adjusting cables, and it catches the majority of problems before they cause a bigger repair. On the schedule, do it year-round; there’s no season in Elgin where it makes sense to skip it.
Which Lubricant Goes Where (and Why the Wrong One Wears Your Door Out)
Lubrication is the highest-return maintenance task on the list, and it’s also the one most homeowners get wrong. Using the wrong product on the wrong component actively accelerates wear. WD-40 on tracks, for example, attracts dust and grit and turns into an abrasive paste that chews through rollers and hinge pins. That’s the opposite of what you want.
The right product for each component
- Rollers and hinges: Use white lithium grease or a silicone spray. A light coat on the metal-to-metal contact points.
- Torsion spring (if accessible from outside the door): Wipe with a light coat of silicone spray to reduce friction along the coil. Don’t try to disassemble anything.
- Track channels: No lubricant. Tracks should be clean and dry. Wipe them with a damp cloth and leave them alone.
- Weather seal: A silicone protectant keeps the rubber or vinyl from cracking through freeze-thaw cycles.
- Opener chain or screw drive: Follow the manufacturer’s recommendation. Most chains want a light grease designed for chains, not general-purpose oil.
- Craftsman and other legacy openers: If you’re not sure what your older unit calls for, call and ask before greasing it.
Never use on a garage door
- WD-40 or any penetrating oil on tracks: attracts grit.
- Motor oil on rollers: too thin, drips, attracts dust.
- Grease on the track: turns into a grinding paste.
- Anything aerosol sprayed directly at the torsion spring while the door is under load.
Do a full lubrication pass every few months, and increase the frequency in Elgin’s summer humidity, when metal parts sweat and dirt sticks to surfaces more readily. In winter, cold stiffens grease, so a silicone-based product holds up better than a heavy lithium.
Seasonal Timing for Elgin’s Freeze-Thaw Cycles and Summer Humidity
Northern Illinois is hard on garage doors because the seasons stress different components. Elgin gets real winters with repeated freeze-thaw cycles and humid summers with condensation inside the garage. Timing the checklist tasks around those seasons makes the maintenance go further.
Fall (before the first hard freeze)
- Full lubrication pass with a product that holds up in cold.
- Inspect and replace the bottom weather seal before the cold sets in.
- Check the door’s balance, because cold stiffens springs slightly.
- Clear debris from the tracks; leaves and grit freeze into place and cause binding.
Winter (December through February)
- Keep the tracks clear of snow and ice blown in from outside.
- Watch for the door moving slower. Cold grease stiffens; a fresh silicone coat helps.
- Don’t force a frozen door open; wait or call a professional. Forcing it can strip gears in the opener.
Spring (the thaw)
- The most important inspection window. Freeze-thaw movement shifts tracks and loosens hardware.
- Check track alignment and look for gaps opening around the frame.
- Retest the balance; springs that survived winter can fail on the first warm day.
Summer (June through August)
- Wipe the weather seal with silicone protectant; humidity dries it out faster.
- Look for rust forming on hinges and rollers; address quickly.
- Re-lubricate hardware in midsummer when the garage holds moisture.
Seasonal rhythm isn’t rigid. The point is that fall and spring are the two windows where a fast inspection can catch the biggest shifts, and summer is when humidity loosens the door’s hardware and weather seal. If you only do maintenance twice a year, make it fall and spring.
DIY-Safe Maintenance vs. Tasks That Carry Real Injury Risk
Some maintenance tasks are safe for any homeowner. Others carry real risk even for experienced hands. Knowing the difference is what separates a useful checklist from a dangerous one. In our experience, the line isn’t hard to find once you know which components store energy.
Safe to do yourself
- Visual inspection and the balance test.
- Lubricating rollers, hinges, and weather seals.
- Cleaning tracks with a damp cloth.
- Tightening the bolts on hinges and brackets (not spring hardware).
- Cleaning the safety eye lenses on the opener.
- Replacing a weather seal at the bottom of the door.
- Testing the opener’s auto-reverse function.
Never do yourself
- Torsion springs: These hold hundreds of pounds of stored energy. Even with the door down, the tension is live. Adjusting or replacing a spring is what causes the serious injuries in our trade.
- Extension springs: Also under heavy load; the cable and spring together can whip unpredictably if released.
- Cable adjustment or replacement: Cables hold the door’s weight on both sides and can snap with force.
- Track re-alignment under door weight: If the door falls off a misaligned track while you’re working, that’s a serious injury.
- Opener gear replacement inside the housing: Always with the power off, and better left to a technician.
For anything on the second list, treat it as a “call a professional” task, no exceptions. The savings on DIY aren’t worth the risk. A trained technician arrives with the tools and the training for those parts specifically, and knows when a replacement is actually needed versus a repair.
What to Check on Your Opener (and When to Stop)
The opener is the part of the system most homeowners interact with, and also the part most likely to be blamed for problems that originate elsewhere. Before you assume the opener is failing, run through a few checks. Many “opener problem” calls are actually door-drag problems that the opener was never designed to overcome.
Quick opener checks
- Disconnect the opener and open the door by hand. If it’s heavy or stiff, the opener isn’t the problem; the door is dragging.
- Test the safety reverse: place a small object on the ground in the door’s path and close the door. It should reverse on contact.
- Wipe the safety eye lenses clean and check that both LEDs are lit.
- Check the wall control and the remote batteries.
- Look at the opener’s LED error codes against the manual.
If those five checks come up clean and the opener still isn’t working, the problem is inside the unit: gears, logic board, or motor. That’s where the checklist ends. The brands we work on include Clopay, Amarr, Wayne Dalton, and Craftsman, along with LiftMaster, Chamberlain, Genie, and Raynor, so we can diagnose what your system needs without swapping parts hopefully. Our garage door opener repair page walks through the process.
When the opener is the actual problem
- Loud grinding that doesn’t stop (worn gears).
- Openers that run but the door doesn’t move (chain or gear failure).
- Opener stops partway consistently (logic or force setting).
- Remotes not working even with fresh batteries and clean lenses (receiver or logic board).
On the two dominant opener ecosystems, LiftMaster and Chamberlain myQ, we can also sort out connectivity issues that leave the door invisible to the app or your home automation. That’s part of the check.
The Top Five Repairs This Checklist Is Built to Prevent
Here’s the reasoning behind the checklist, so you can see exactly which task addresses which repair. Each repair shows up repeatedly in Elgin homes because the underlying problem is predictable, and each one is preventable with a maintenance habit.
1. Worn rollers (noise and vibration)
Rollers take the most wear of any door part. They’re cheap to replace and quick to identify when the door starts rattling. Lubrication slows the wear; replacement is a preventive maintenance item, not a repair emergency.
2. Binding hinges (opener strain)
Hinges that stick turn every cycle into an extra load on the opener. That’s what causes premature opener wear and eventually a failed gearbox. A few minutes of lubricant every few months is all it takes to keep hinges moving freely.
3. Track drift (door off-line)
Freeze-thaw cycles and building settling shift tracks out of parallel. Once the tracks drift, rollers ride unevenly, the door hesitates, and eventually something bends. Checking track alignment during fall and spring catches drift early.
4. Weather seal failure (water and cold)
A cracked bottom seal lets water into the garage during summer storms and cold air in during winter. That leads to rust on the door’s bottom section and hinge hardware. Inspect and replace the seal before each season change.
5. Opener failure from door drag
The most avoidable of the five. An opener that’s fighting a dragging door burns out eventually. Keep the door running easily and the opener stays healthy. The diagnostic is the balance test; the fix is fresh rollers, lubrication, and track cleaning.
Get those five right and you’ll cut down on future service calls substantially. For homeowners who want to talk through any of them, the Ridgeway Garage Door Repair team can help without pushing parts you don’t need.
Common Mistakes to Avoid
- Greasing the tracks. Feels productive, but turns into a grit trap that wears rollers out faster. Tracks should be clean and dry.
- Using WD-40 on everything. It’s a penetrant, not a lubricant. On hinges and rollers it strips existing grease and attracts dust.
- Ignoring a wobbly door. If the door sways or hesitates in one corner, a track is out of alignment or a spring is weakening. Don’t “live with it”; it escalates.
- DIY spring adjustment. The single most dangerous garage door mistake. Torsion springs hold immense stored energy even with the door closed.
- Skipping the fall inspection. In Elgin’s freeze-thaw climate, that’s the wrong season to skip. Fall is when you catch issues before winter stress.
- Assuming the opener is broken. Most “opener failures” are really door-drag problems. Test the door by hand before calling for opener repair.
- Unplugging the safety reverse. Never. It’s there to prevent serious injury, especially in homes with kids or pets.
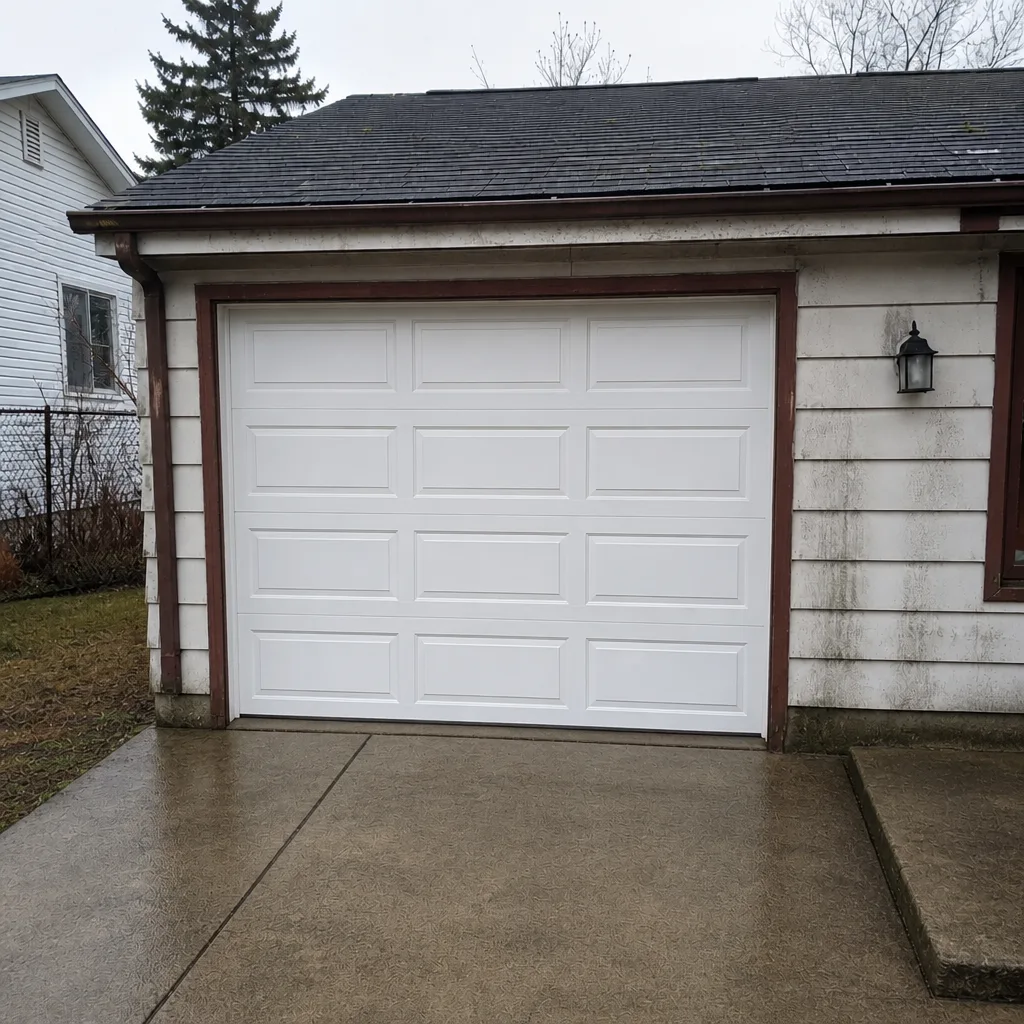
See the difference
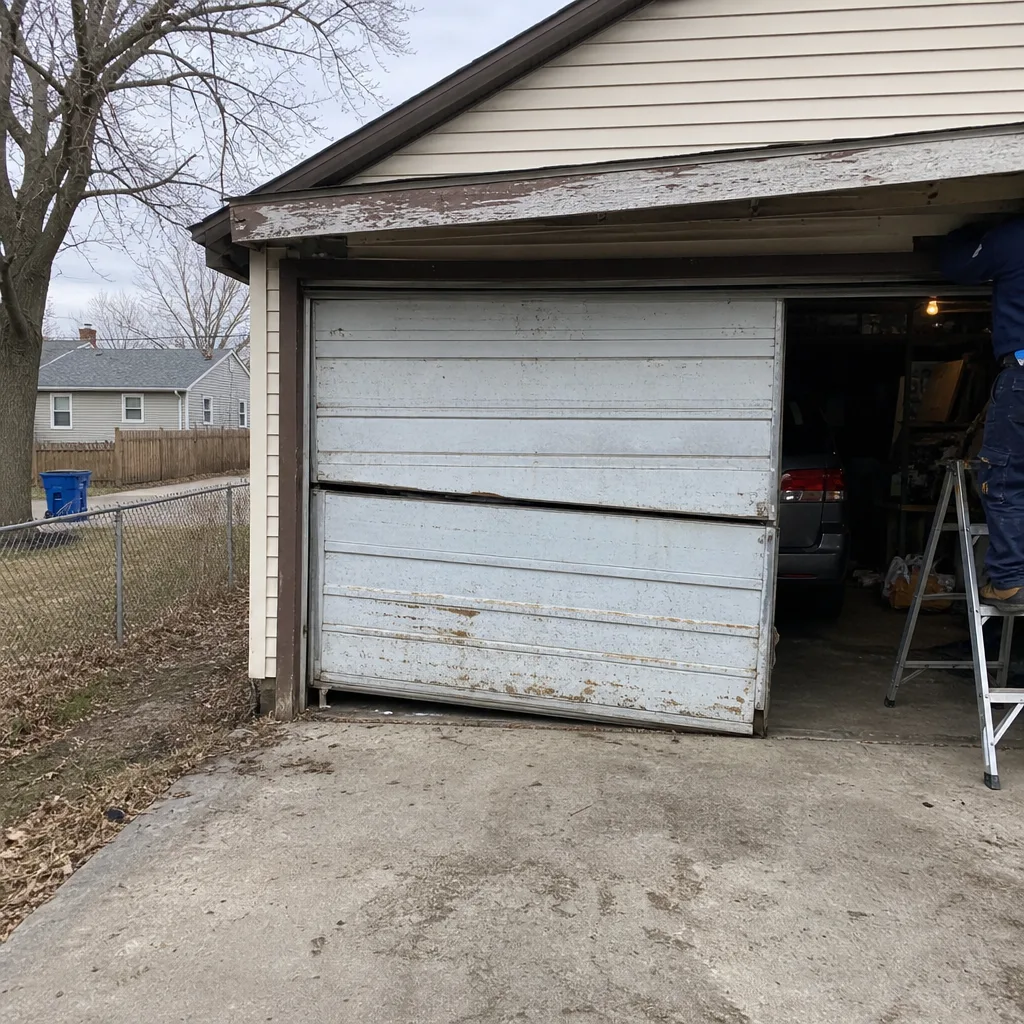 Before
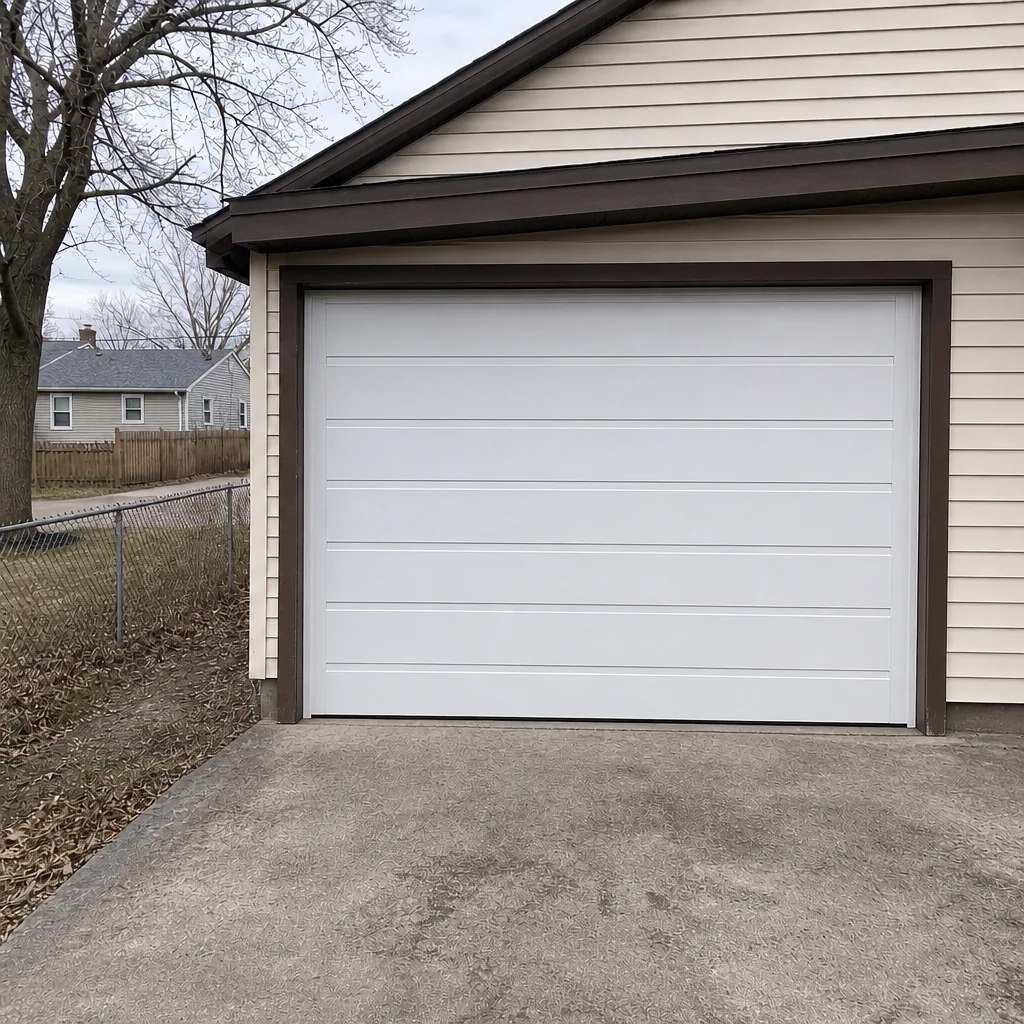 After
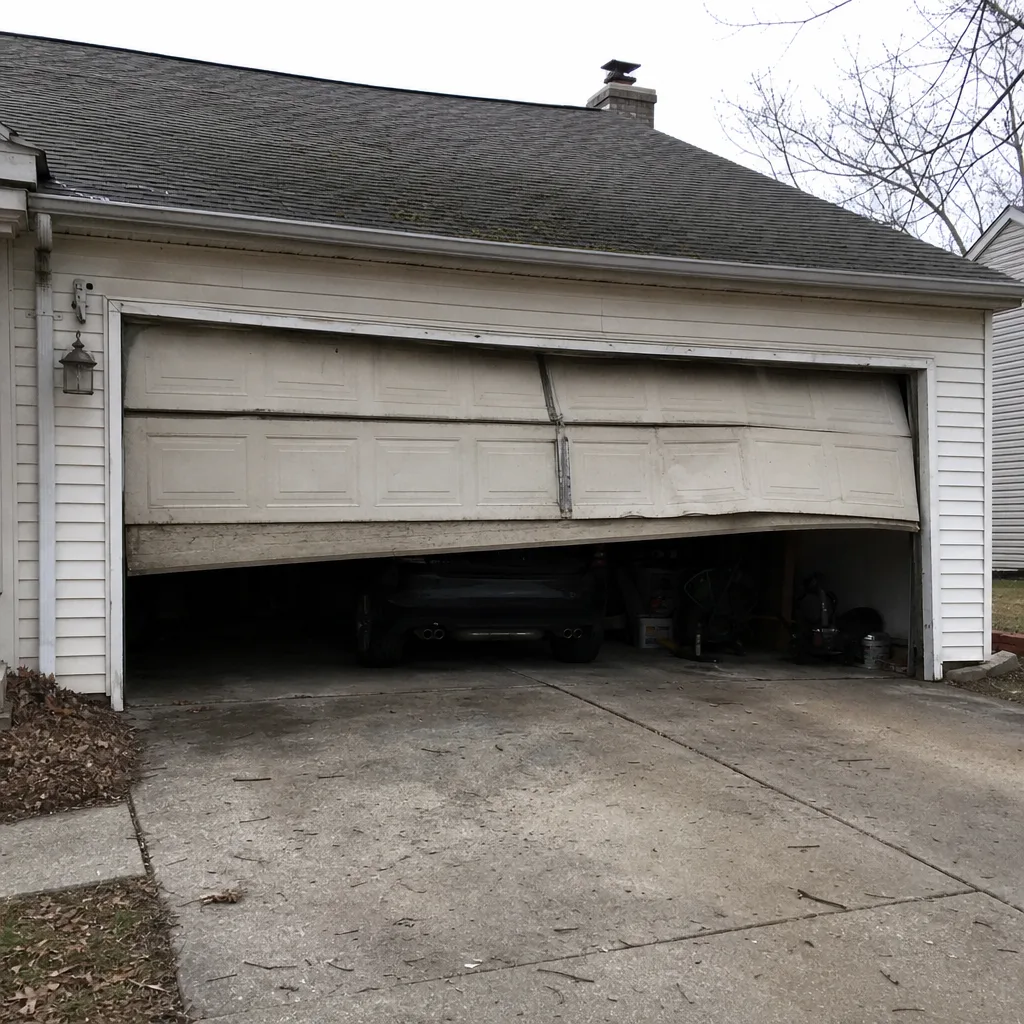 Before
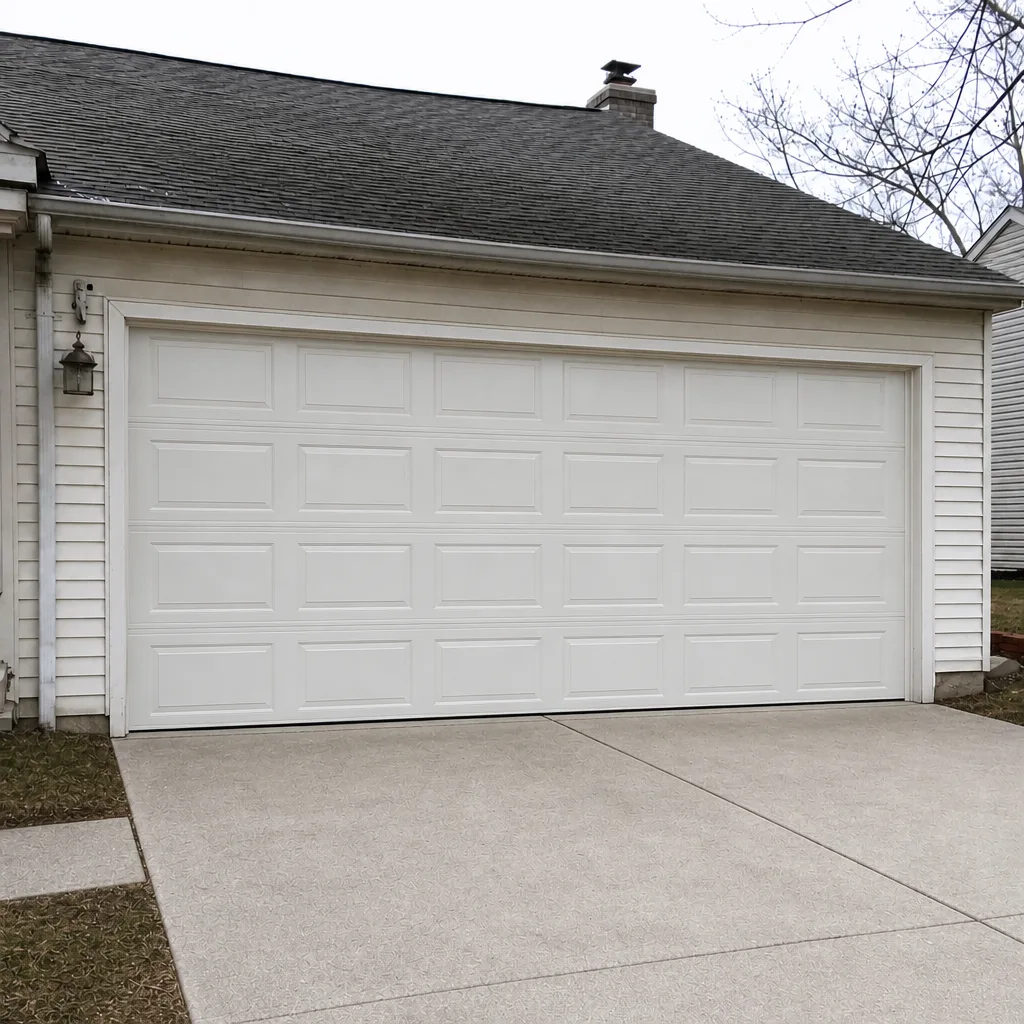 After
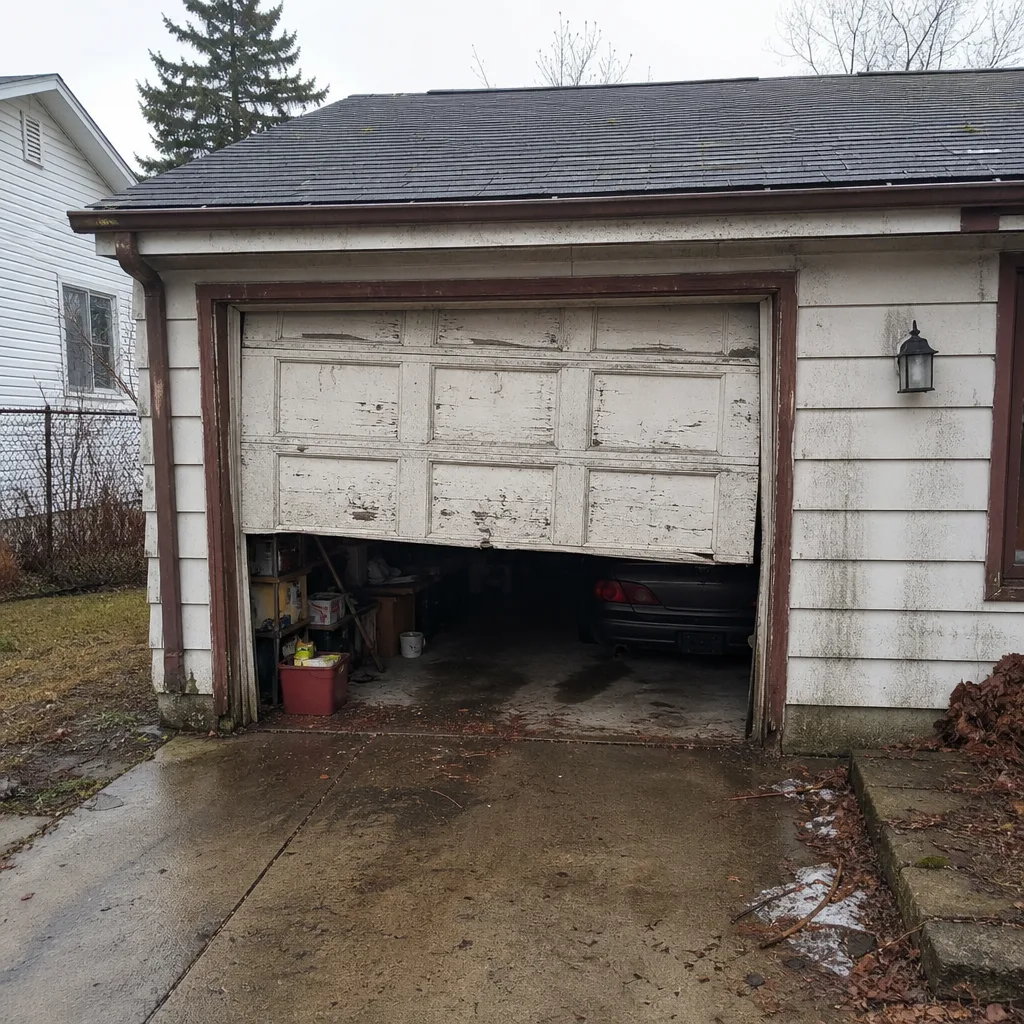 Before
 After
When to Call a Professional
Call a professional immediately if the spring snaps, the door comes off a track, a cable frays, or the door is stuck down. These are all safety-critical and can’t safely wait. Other situations call for a professional visit even if the door still works: an opener that hesitates, a door that’s out of balance, persistent grinding or squealing, or a garage door that’s harder to lift by hand than it used to be. If you’re not sure, our garage door repair page describes what a technician looks for during a diagnostic. Ridgeway Garage Door Repair offers free estimates in Elgin. Call (844) 320-7553. We answer 24/7. Fast dispatch from 7am to 7pm, Sunday through Friday.
Frequently Asked Questions
Once a year is enough for most Elgin homes, timed to the fall before winter. Homes with heavy daily use, or with older doors that have already had repairs, benefit from a spring inspection too. The 90-second monthly self-check fills in the gaps between annual visits.
Broken torsion springs and worn rollers top the list. Elgin’s freeze-thaw cycles are tough on springs and track alignment, and worn rollers show up in almost every door that hasn’t been lubricated in a year. Both are recognizable early with the monthly inspection.
Yes, for rollers, hinges, weather seals, and the torsion spring’s coil, using white lithium grease or silicone spray. Never use WD-40 or any penetrating oil. The door’s track should stay dry. Professional lubricants designed for the specific brand and model of your door are a good option if you’re not sure what to use.
Cold thickens grease and stiffens springs, so the door moves with more resistance in winter. If the door is noticeably harder in cold weather, that’s a sign the lubrication is wrong or the spring is weakening. A silicone-based spray holds up better than lithium grease in the cold.
Yes, licensed and insured. For anything involving spring tension, cables, or track safety under load, we always recommend a trained technician. Our technicians have up to 11 years of experience. Call (844) 320-7553 for a free estimate. We answer 24/7. Fast dispatch from 7am to 7pm, Sunday through Friday.
Yes. Every price is quoted and agreed before any work starts, and the written estimate sets the final price. We don’t have surprise invoices. Estimates are free. Call (844) 320-7553 for an exact quote.
The Bottom Line
A garage door maintenance checklist only works if it’s built around the repairs it prevents. This one focuses on the top five repair calls in Elgin (rollers, hinges, tracks, weather seals, and opener strain), and the tasks that keep each one from turning into a service call. The 90-second monthly inspection plus a genuine effort at lubrication and seasonal checks will prevent most developing problems. The spring and cable tasks are never DIY; call a professional every time. If you want to know what your door needs, or you’d like a professional to walk through the checklist on your specific system, Ridgeway Garage Door Repair offers free estimates in Elgin. Call (844) 320-7553 for a free estimate. We answer 24/7. Fast dispatch from 7am to 7pm, Sunday through Friday.
Written by the team at Ridgeway Garage Door Repair.