
Last updated November 15, 2026
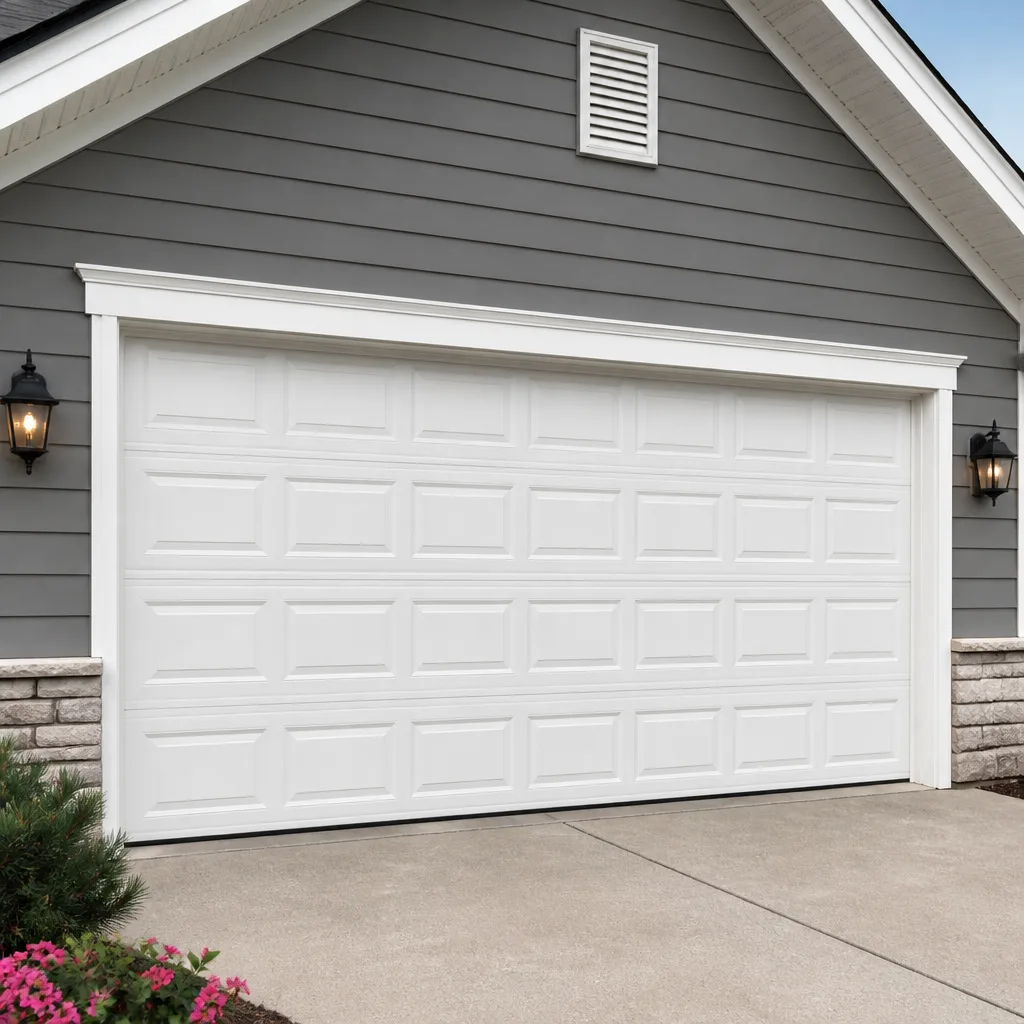 Raised-panel steel
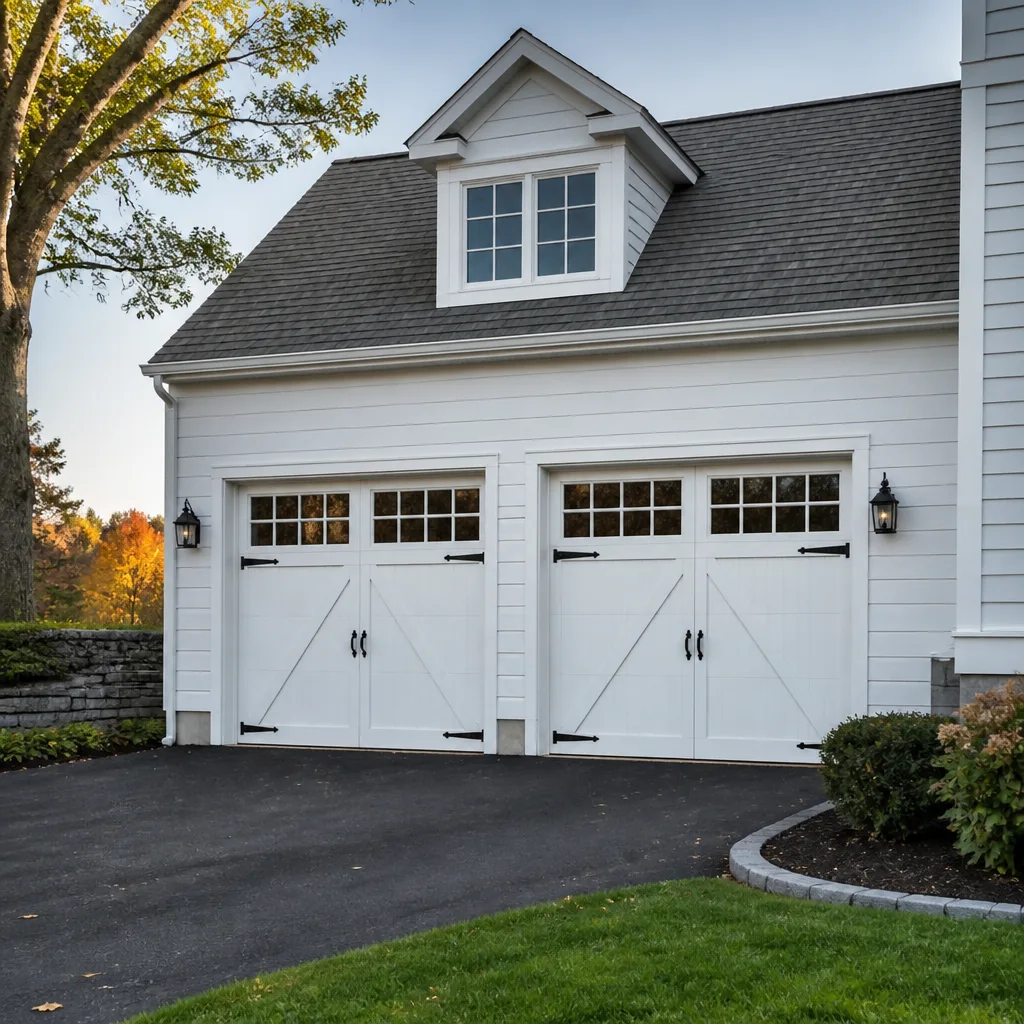 Carriage house
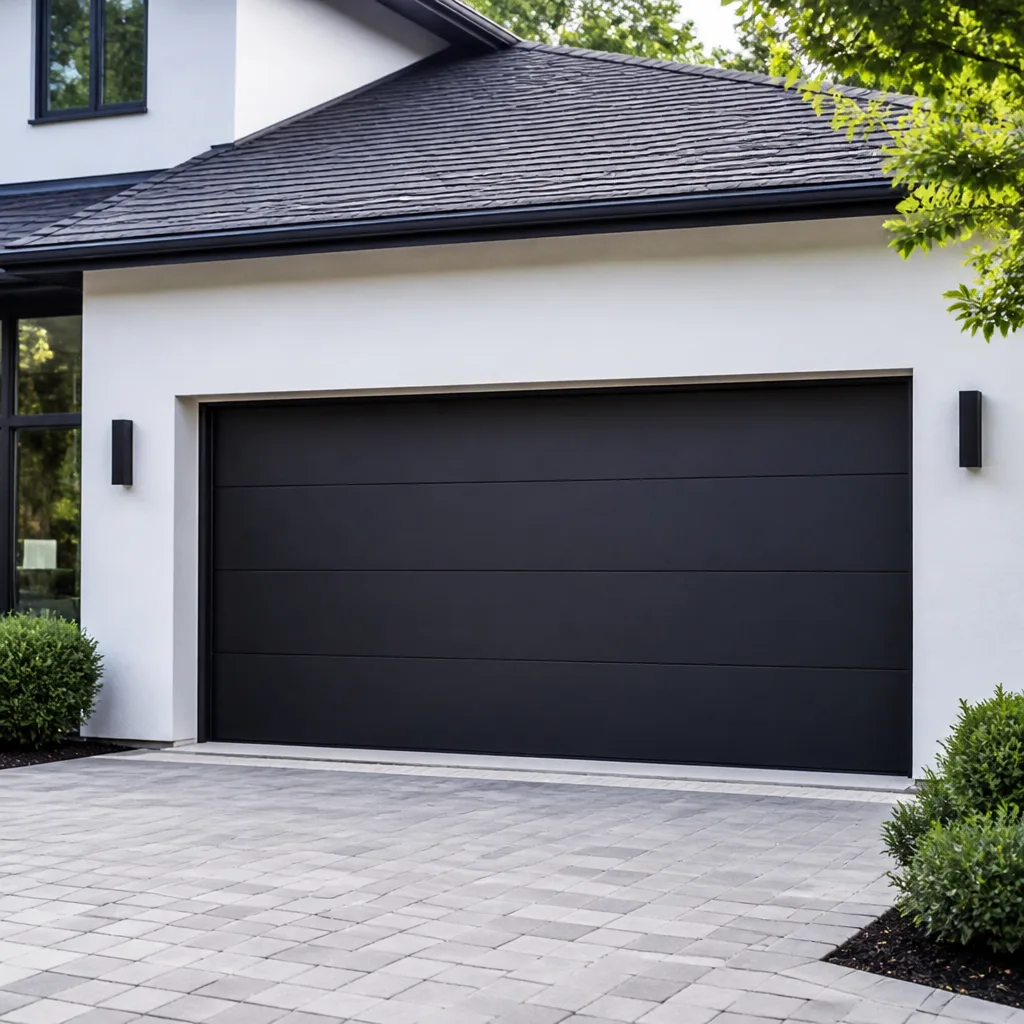 Modern flush
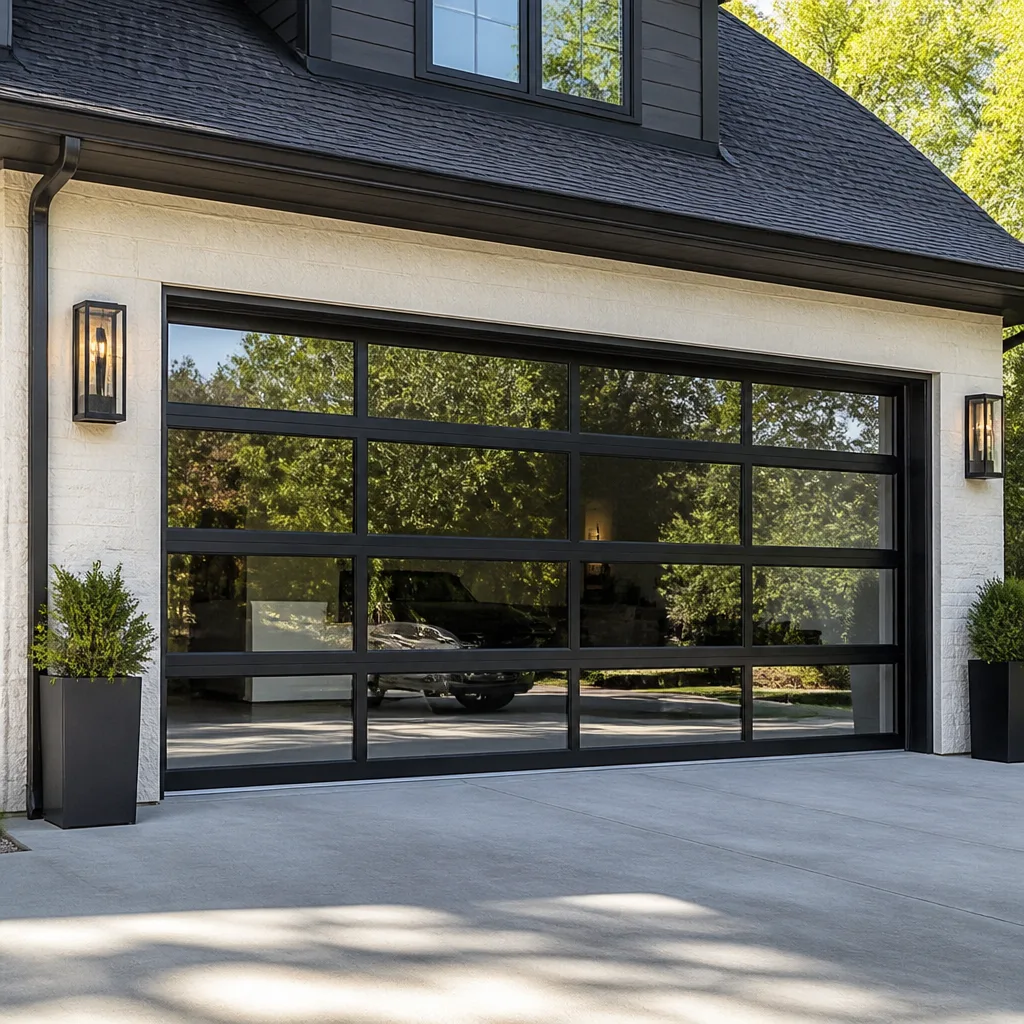 Full-view glass
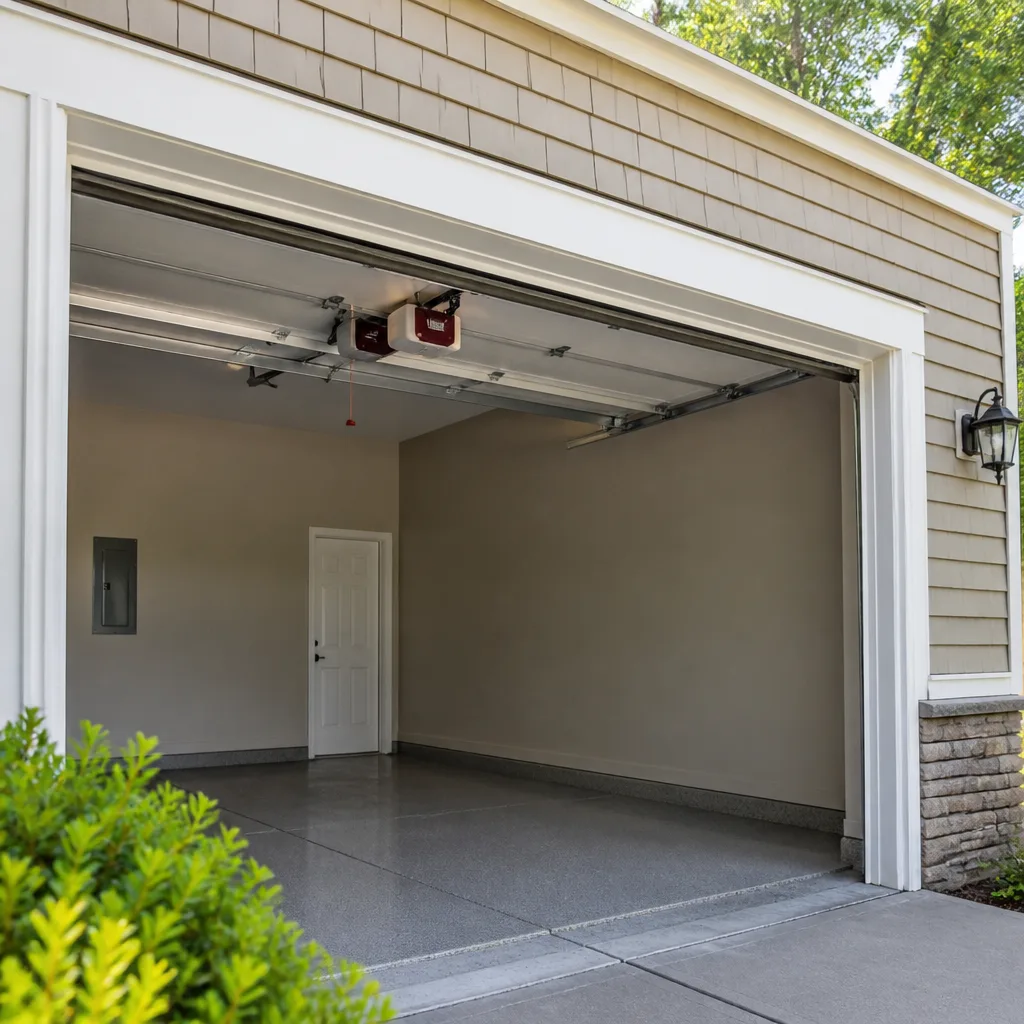 LiftMaster openers
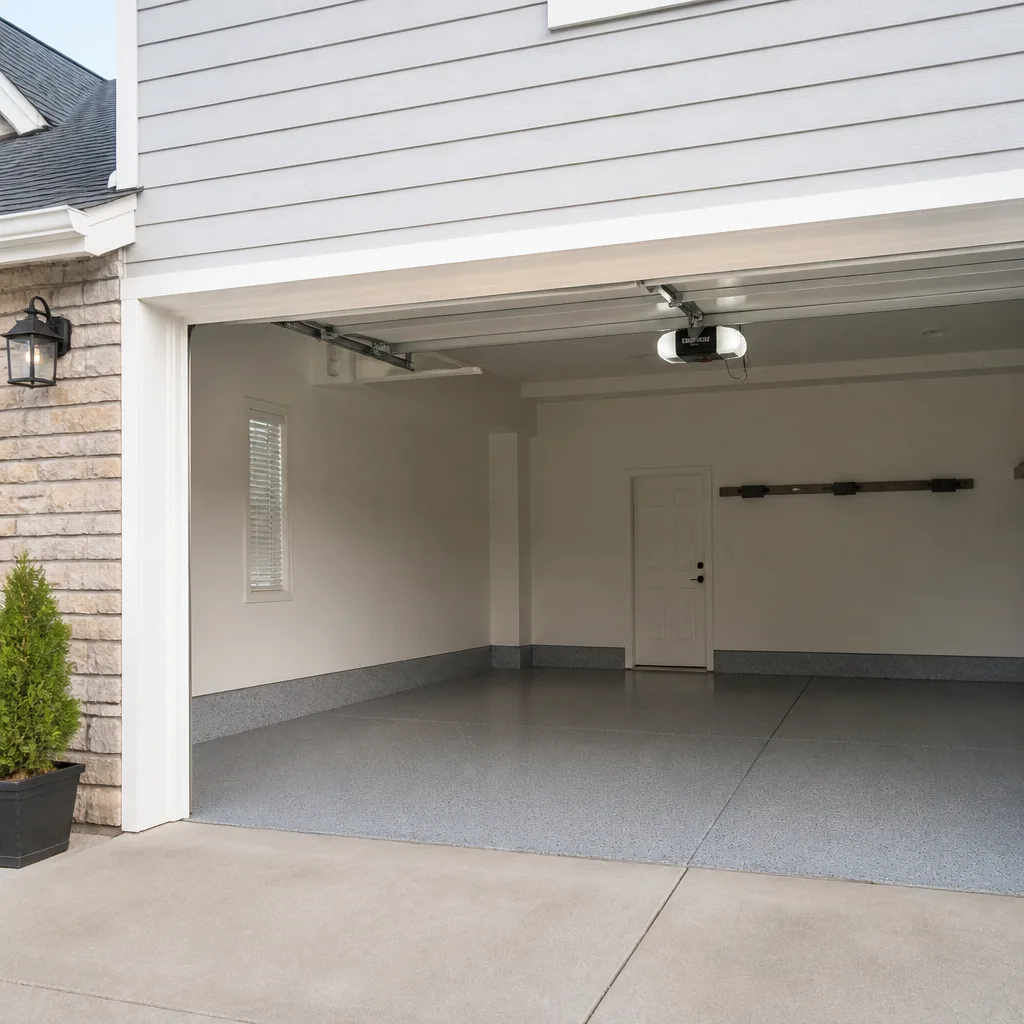 Chamberlain openers
Full 25-point door and opener safety check with every visit - springs, cables, rollers, tracks, and your LiftMaster or Chamberlain opener included
You get a price before we start. It does not change when the pro arrives.
Get your free estimateDIY vs Professional Garage Door: The Elgin Homeowner’s Decision Guide
Most garage door advice treats DIY as a single decision: either you’re handy enough to work on your door or you aren’t. That framing is wrong, and it gets people hurt. The real question isn’t your skill level. It’s which task is on the table. Replacing a bottom seal is a job a careful homeowner can finish in an afternoon. Adjusting a torsion spring is a job that stores enough energy to break bones in the time it takes to blink. This guide draws that line task by task, with honest notes on tools, warranties, and the spots where calling a pro is actually the faster, cheaper route. Whether you’re in Elgin’s older bungalows or a newer subdivision out toward the west side, you’ll finish with a clear answer for your specific door.
Quick Answer
Safe DIY garage door work covers cosmetic and low-tension parts: rollers, hinges, weatherstripping, lubrication, track cleaning, and photo-eye alignment on your opener. Anything involving torsion springs, extension springs, or lift cables is professional-only, because those parts are under extreme tension and must be de-tensioned before they can be safely touched. If your door is stuck, crooked, or making a loud bang noise, that’s a call to a technician, not a weekend project.
Styles & brands we work with
- Raised-panel steel
- Carriage house
- Modern flush
- Full-view glass
- LiftMaster openers
- Chamberlain openers
Table of Contents
- The Three-Category Task Breakdown
- Category 1: Safe DIY Repairs
- Category 2: DIY-Possible-With-Research
- Category 3: Professional-Only Repairs
- Tools You Need and Where to Find Them in Elgin
- What Goes Wrong With the Most Attempted DIY Repairs
- How DIY Mistakes Void Your Manufacturer Warranty
- When Calling a Pro Is Faster and Cheaper
The Three-Category Task Breakdown
Garage door work divides into three honest buckets. Sorting your repair into the right one before you pick up a tool is the single most useful thing you can do for your door, your wallet, and your fingers. Here’s the breakdown we use when we talk through a job with a homeowner.
- Safe DIY: Low-tension or no-tension parts, mostly cosmetic and contact-based. Rollers, hinges, bottom seals, weatherstripping, lubrication, cleaning, and photo-eye sensor alignment. No stored mechanical energy involved.
- DIY-possible-with-research: Structural or mechanical work that’s doable if you’ve studied it carefully and have the correct tools and safety backing. Replacing the bottom bracket, resetting a limit switch on an opener, swapping a battery in the remote, adjusting track brackets on a slightly off-track door.
- Professional-only: Torsion springs, extension springs, lift cables, tension adjustments, cable swage connections, drum re-spooling, and any repair to a door that has fully come off its track or collapsed. These components are under enough force that a mistake is a medical event, not a setback.
One practical note before we dive deeper. When a garage door in Elgin fails, it’s usually one of a handful of predictable parts, and it’s usually a part we see every week because the same brands are installed in much of the housing stock here. Knowing whether your repair belongs in bucket one or bucket three is a lot easier than knowing how to fix it in bucket three.
Category 1: Safe DIY Repairs
These are the jobs we genuinely encourage homeowners to do themselves. They’re low-tension, hard to get badly wrong, and the tools are inexpensive. If your door closes and opens normally and you’re only dealing with noise, wear, or a stuck remote, one of these is likely the fix.
Nylon and steel roller replacement is the most common DIY win. Worn rollers cause most of the scraping, popping, and vibration homeowners hear. With the door fully open and the springs relaxed, a roller slides out of its hinge bracket and a new one slides in. Nylon rollers run quieter than steel and are worth the small extra cost.
Hinge replacement follows the same logic. If hinge plates are bent or missing screws, replacing them one at a time (never more than one at once, since hinge removal perturbs panel alignment) is straightforward.
Weatherstripping and bottom seal replacement handles most of the water, snow-melt, and cold-air intrusion in Elgin’s winter. A leaking bottom seal invites ice to form under the door and wicks moisture into a concrete slab that’s already taking a beating from freeze-thaw cycles. The seal slides into an aluminum retainer or screws onto the bottom section; either way, it’s a homeowner job.
Lubrication is the cheapest maintenance you can do and the most often skipped. A drop of white lithium grease on hinge pivot points and a light spray on the torsion spring coils and rollers a couple of times a year quiets 80% of the noise complaints we hear about. Do not use heavy motor oil or WD-40 as a long-term lubricant; both attract grit that wears parts faster.
Photo-eye sensor alignment covers the most common “door won’t close” call. The two small sensors at the bottom of the track need to see each other. If one is bumped out of line or dusty, the opener reverses the door mid-travel as a safety response. A quick wipe, a realignment, and a test will clear it.
Category 2: DIY-Possible-With-Research
These are the tasks where a careful homeowner can succeed, but only with the right information in hand and a clear willingness to stop if something feels wrong. We’d put these at maybe 30% of the repair volume we see in Elgin. They’re not beginner jobs, but they don’t carry the same instant-injury risk as spring work.
Replacing a bottom bracket
The bottom bracket on each side anchors the lift cable. It’s replaceable, but you must first de-tension the door by putting it in the fully open position with the springs relaxed, or better, by using a locking pliers on the torsion bar to back-wind tension. If you’re not confident about de-tensioning, this is not a research task, it’s a pro task. If you are, follow the door manufacturer’s instructions to the letter.
Adjusting opener travel and force limits
If your door goes down and comes right back up, or stops six inches short of closing, the opener’s travel limits or force setting is usually to blame. This is a small adjustment on the opener body, done with the door disengaged and the manual clearly in front of you. It’s a fair DIY job on a LiftMaster, Chamberlain, or Genie unit, as long as you follow the manufacturer’s reset sequence and don’t raise the force setting just to push past a mechanical problem.
Track bracket tightening
Slightly misaligned track can produce a loud scrape. Tightening the wall-mounted angle brackets with a socket set is safe if the door is closed and the springs are relaxed, and if you only nudge alignment, never force it. If the door has actually jumped the track, stop. That’s a professional-only repair.
Remote and keypad programming
Re-pairing a garage remote or resetting a keypad is pure electronics and coding, with no mechanical risk. Chamberlain and LiftMaster myQ systems walk you through it on the opener panel or the app. Genie and Craftsman openers use a learn button on the motor housing. If a fresh battery doesn’t fix a remote that stopped working, this is often the actual fix. It also happens to be the second most common reason people call us only to find they didn’t need us.
Our rule of thumb for Category 2: if you’re not certain you understand the failure mode, treat it as Category 3. In our experience, the risky mistakes happen when homeowners try a Category 2 repair by watching a short video at 9pm without knowing what the underlying problem actually is. For more on specific failure patterns, our garage door repair page walks through the symptoms that point to each part.
Category 3: Professional-Only Repairs
Torsion springs, extension springs, lift cables, and anything holding the door’s weight to the ceiling are not beginner or intermediate work. They are dangerous enough that professional technicians handle them with specific tools, specific body positioning, and a specific understanding of how the stored force releases. We tell homeowners on every call: don’t touch these.
Torsion spring replacement and adjustment. A torsion spring stores hundreds of pounds of rotational force. The metal under load can release suddenly if the winding bars slip or the spring snaps, and the resulting motion is fast enough to sever fingers or strike a technician in the head. This is why only a trained professional should touch them.
Extension spring replacement. Older doors often use extension springs running parallel to the horizontal tracks. These are also under significant tension, though of a different kind, and can whip free if the safety cable isn’t in place. Replacing them safely requires clamping the door, releasing tension incrementally, and matching the spring to the door’s weight. Not a research task.
Cable replacement and reattachment. The lift cables carry the door’s total weight to the spring system. If a cable is frayed, off its drum, or has snapped, the door’s balance is compromised and can drop without warning. Never attempt to reattach a cable to a drum or a bottom bracket without de-tensioning the system first.
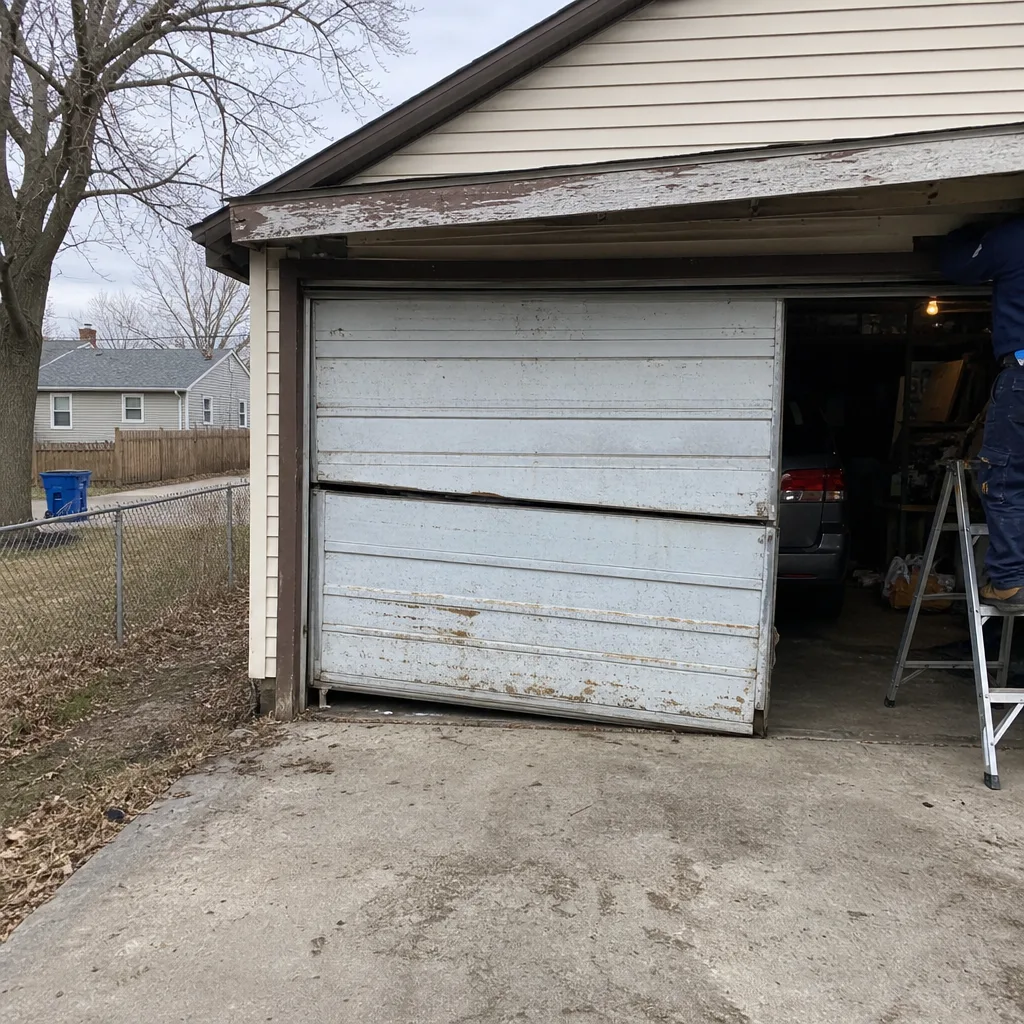
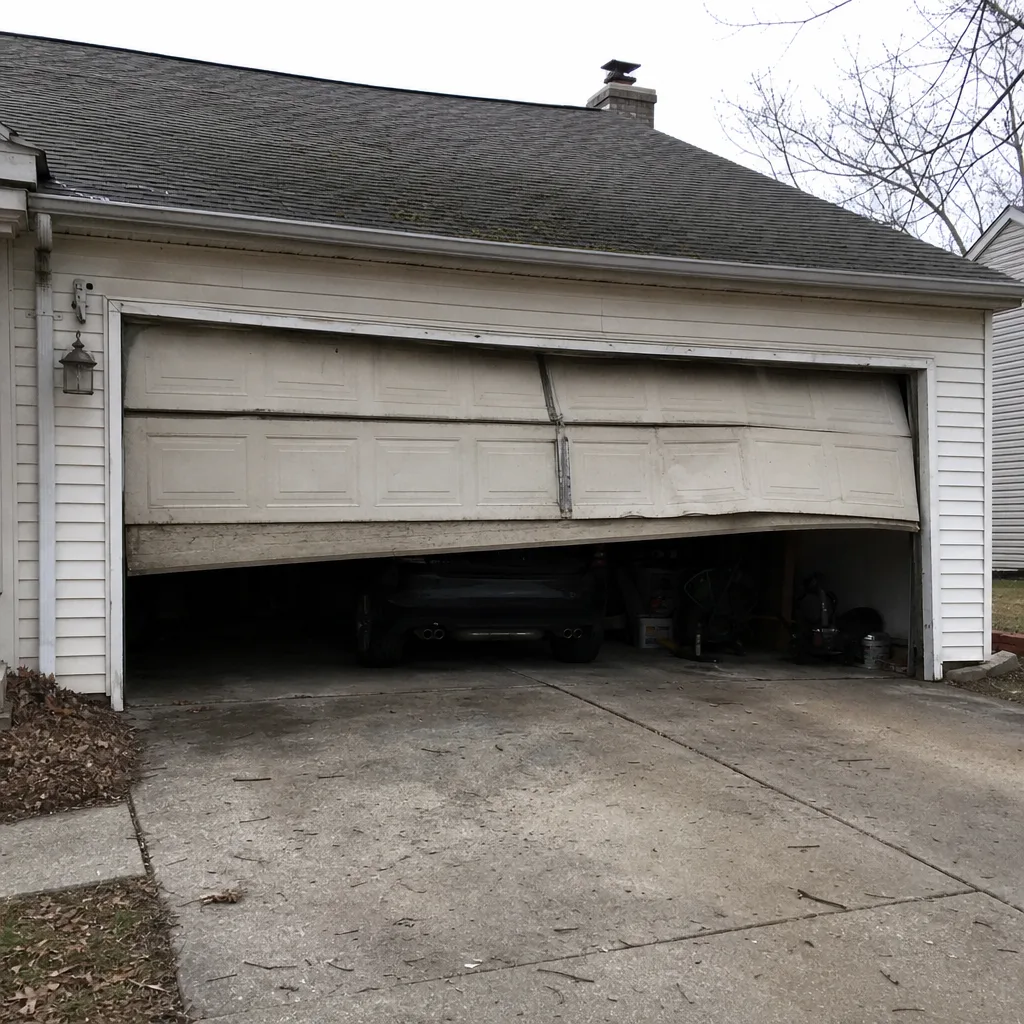
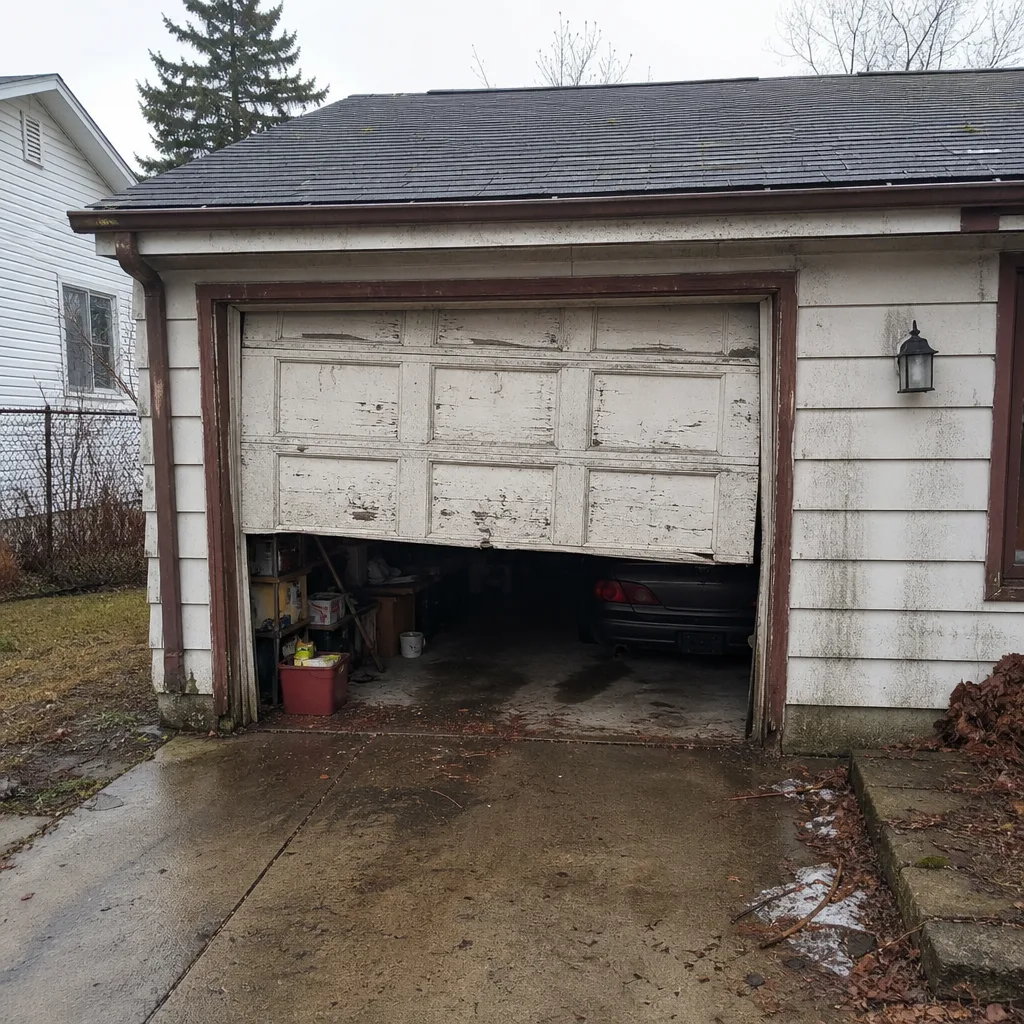
Door off-track or panel collapse. If the door has come out of its tracks or a panel has buckled, the door may be holding a partial load on the springs. Don’t try to force it back on. Call us and we’ll bring the right tools to stabilize and reset it.
These categories aren’t about gatekeeping skill. They’re about matching the risk of the repair to the equipment a homeowner actually has. In our experience, the safest path when a garage door in Elgin needs any of the parts above is to stop, leave it alone, and get a technician to it.
Tools You Need and Where to Find Them in Elgin
For the safe DIY category, you don’t need a specialty kit. Most of what you need is already in a typical homeowner’s toolbox, and what isn’t can be sourced locally without a trip to a big-box store forty minutes away.
Tools for safe DIY repairs
- A 3/8″ or 1/2″ socket set (7/16″ and 1/2″ sockets cover most hinge and bracket bolts)
- An adjustable wrench for track bracket bolts
- A screwdriver set, Phillips and flathead
- White lithium grease in a tube or spray can
- A soft cloth and a can of compressed air or a soft brush for photo-eye sensors
- Replacement nylon rollers, matched to your hinge size (usually 1-3/4″ or 2″)
- A replacement bottom seal, matching your door width and retainer type
Where to source parts in Elgin
The big home improvement chains on the west side of Elgin and along Route 20 are fine for grease, rollers, and general weatherstripping. For brand-specific wear parts, look for a local hardware store with a garage door aisle; Elgin has independent hardware shops that stock the standard 1-3/4″ and 2″ nylon rollers, seal retainers, and universal hinges. For a specific lift cable, drum, or torsion spring matched to your exact door weight, order straight from the door or opener manufacturer. Clopay, Amarr, Wayne Dalton, and Raynor parts fit their doors and not others, and matching parts correctly is the whole game with those brands.
Here’s a concrete note on parts sourcing. Buying a “garage door maintenance kit” online is the most reliable way to end up with hinges that don’t fit your door and a bottom seal that’s the wrong width. Buy the specific parts your door needs, matched to its measurements, from a seller who can confirm compatibility. We can help with that, and we’ll tell you when a universal part is genuinely fine.
What Goes Wrong With the Most Attempted DIY Repairs
We’ve been called into Elgin homes to fix the aftermath of a lot of DIY attempts. The failures cluster into recognizable patterns, and in each case the danger isn’t the inconvenience. It’s the fact that the failure is instant and unrecoverable.
Spring adjustment
Homeowners who try to tighten a torsion spring usually do it to keep a door from banging shut or drifting open. Some videos show winding bars and a “half-turn at a time” method that looks manageable. What the videos don’t communicate is what happens when the bar slips or the spring snaps while the technician is directly under the door. The spring releases its full stored energy in milliseconds, and the force is enough to break bones or cause severe lacerations. There is no “I’ll be careful” mitigation. The spring’s stored energy is the danger, not your grip.
Cable reattachment
When a lift cable slips off its drum, the temptation is to hoist the door manually and slip it back on. What most people don’t realize is that the door is no longer counterbalanced, and springs may be fully wound with the cables slack. A door in that state can drop fast. Even if it doesn’t fall on you, the sudden load on one spring can snap it. Trained professionals de-tension and clamp doors before touching a cable for exactly this reason.
Extension spring work
The failure mode here is that the spring snaps free and whips across the garage. Without a safety cable threaded through the spring, that motion can hit a car, a person, or a wall-mounted panel. Replacing them safely means matching spring tension to the door’s exact weight and doing the work with the door fully open and the tension released. It’s not a job to estimate.
Setting the opener force limit too high
This isn’t a spring repair, but it’s a DIY pattern with real consequences. Homeowners who raise the force limit to get past a stiff door push the opener motor past its design envelope. The motor burns out faster, and a door that’s actually obstructed can be pushed through because the opener no longer reverses when it should. It’s a safety override you don’t want to defeat.
The pattern in all these errors is that the mistake doesn’t show up as “the door doesn’t work as well.” It shows up as “something failed catastrophically in a second.” That’s the wrong kind of failure to learn from the hard way.
How DIY Mistakes Void Your Manufacturer Warranty
Manufacturer warranties on doors, openers, and springs are specific. They cover defects in materials and workmanship for a set period. What they don’t cover is damage caused by improper installation, inadequate maintenance, or unauthorized repair. When a service technician inspects a failed part and finds evidence that it was disassembled, adjusted incorrectly, or worked on by someone without the correct procedure, the claim gets denied.
Concrete examples of what typically voids coverage:
- Opener warranty (LiftMaster, Chamberlain, Genie, Craftsman): Improper travel or force adjustment that stresses the motor past factory limits. The warranty covers manufacturing defects, not failures caused by settings outside the manufacturer’s spec.
- Door panel warranty (Clopay, Amarr, Wayne Dalton, Raynor): Field-applied modifications to the door’s structure, including panel or bracket replacement done outside the manufacturer’s installation instructions.
- Spring warranty: Cycles are covered; damage from improper adjustment or from winding a spring that doesn’t match the door’s weight is not.
The frustrating part is that the warranty isn’t a bluff. When a spring fails after a homeowner attempted adjustment, the failure looks the same on arrival as a defect. The difference is discoverable: it’s usually in the wear pattern on the winding cone or the flagrant mismatch between the installed spring and the door’s listed weight. Proactive professionals will tell you upfront whether a repair will affect your coverage. They should, and they should say so before you say yes.
When Calling a Pro Is Faster and Cheaper
DIY is often cheaper than professional work, but not always, and not when the repair is outside the DIY-safe category. When you add up parts, time, tool rentals, and the risk of voiding a warranty or injuring yourself, a professional repair is frequently the low-cost option once you’re honest about all four.
Some real cost math. A bottom seal replacement in Elgin typically costs $150 to $280 for a standard width door. The parts alone are $40 to $80, so the labor is around $70 to $200. If you’ve got a socket set and a free afternoon, DIY saves you money. Now look at a torsion spring replacement: $340 to $520 for a pair in the typical range, or about half that for a single spring. The parts are $60 to $150 for a matched pair. The labor cost covers the tools and the risk. A DIY spring job has no honest cost comparison, because the failure mode isn’t cost, it’s injury.
Another way to think about it: most safe DIY repairs cost $40 to $120 in parts and take two to four hours. Most pro repairs that fall into Category 2 or 3 cost $200 to $500 installed and take one visit. When you factor in a same-day response, a written estimate, and a warranty on the work, the pro route is often the simpler and safer call.
One more factor that matters in Elgin specifically. Cold winters and hot summers work doors hard. The freeze-thaw cycle we get here stresses seals, springs, and panels, and a repair that holds for one season in a milder climate can fail faster here. A technician who works on Elgin doors throughout the year can spot the parts that are close to failing and let you replace them on your schedule rather than at a bad moment.
Common Mistakes to Avoid
- Assuming “garage door” means “one kind of job.” The same door can be safe to work on one day and dangerous the next, depending on which part failed. Sort your task before you touch a tool.
- Using WD-40 as your only lubricant. It displaces moisture, and it does temporarily quiet hinges, but it also attracts grit and doesn’t last. Use white lithium grease on the pivots and the springs if your door has torsion springs.
- Replacing a spring with a bigger one “to be safe.” The spring has to match the door’s listed weight. Oversized or undersized springs both shorten door life and can fail quickly.
- Adjusting the opener force limit upward to fix a stiff door. This masks the underlying problem and pushes the opener motor far past its design envelope. Fix the door’s balance before you touch the opener.
- Working on a door in motion. If the door is mid-travel and you’re not certain why, don’t force it. Use the manual release, leave the door up, and get a technician to it.
- Buying a generic parts kit. Most homeowner kits are mismatched to a specific door’s needs. Match the hinge size, seal width, and spring to the door’s actual measurements.
- Ignoring the first weird noise. A single pop or scrape from a door usually has a small cause. Two or three in a row means something bigger. Get ahead of it before the parts start failing in Elgin’s temperature swings.
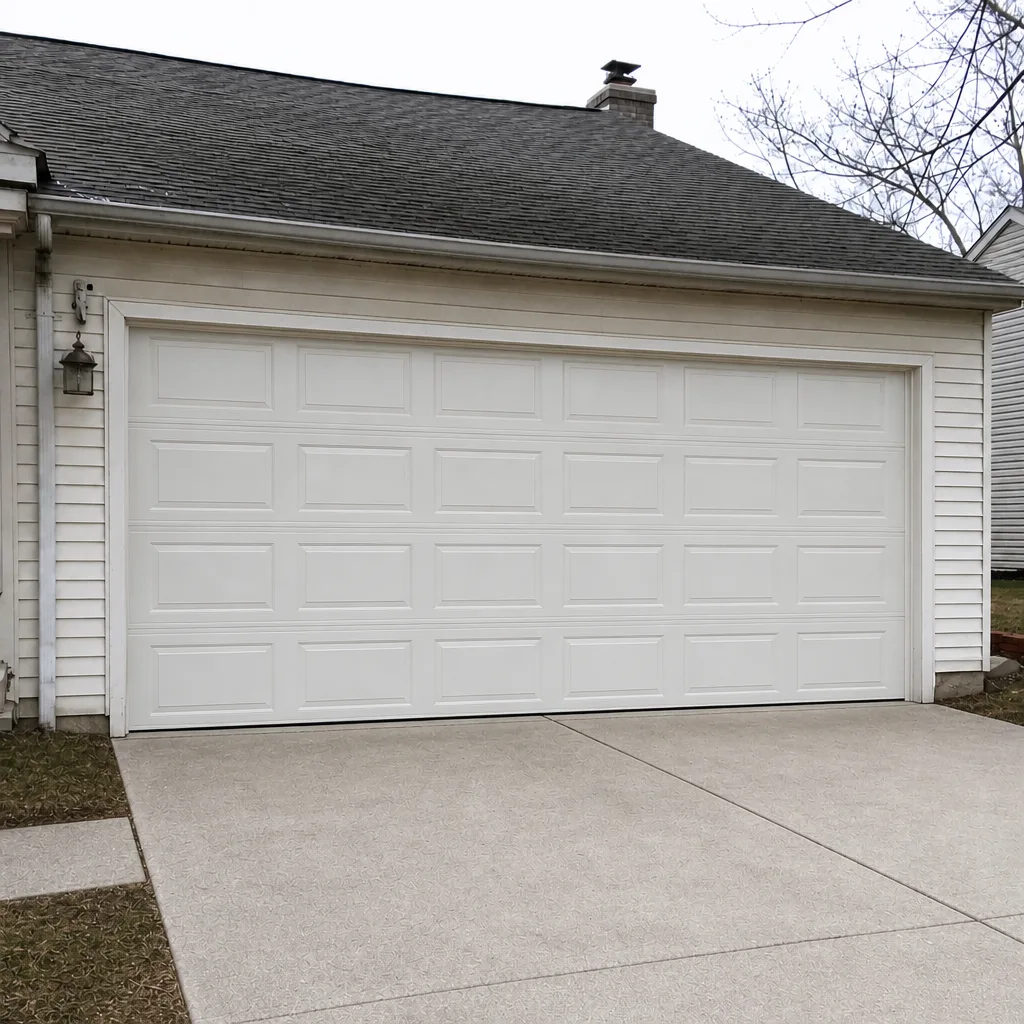
See the difference
 Before
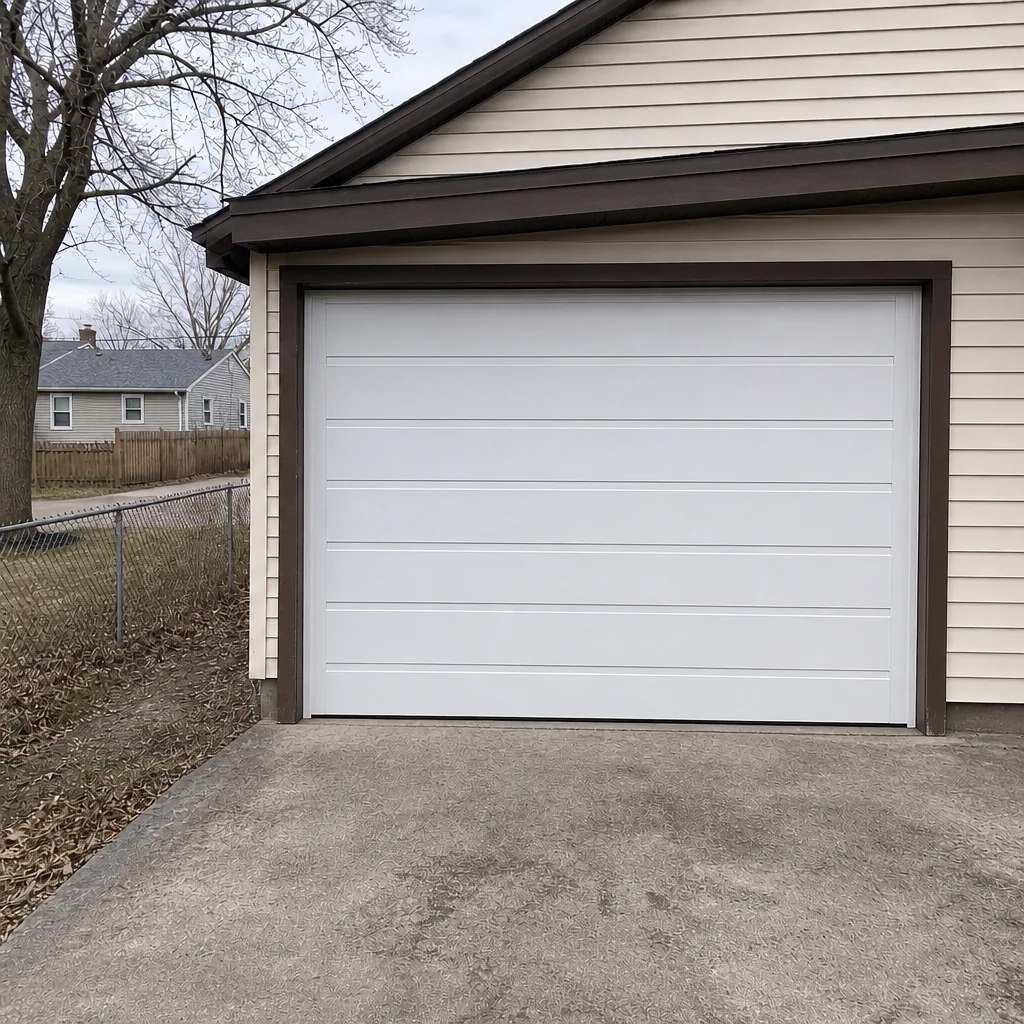 After
 Before
 After
 Before
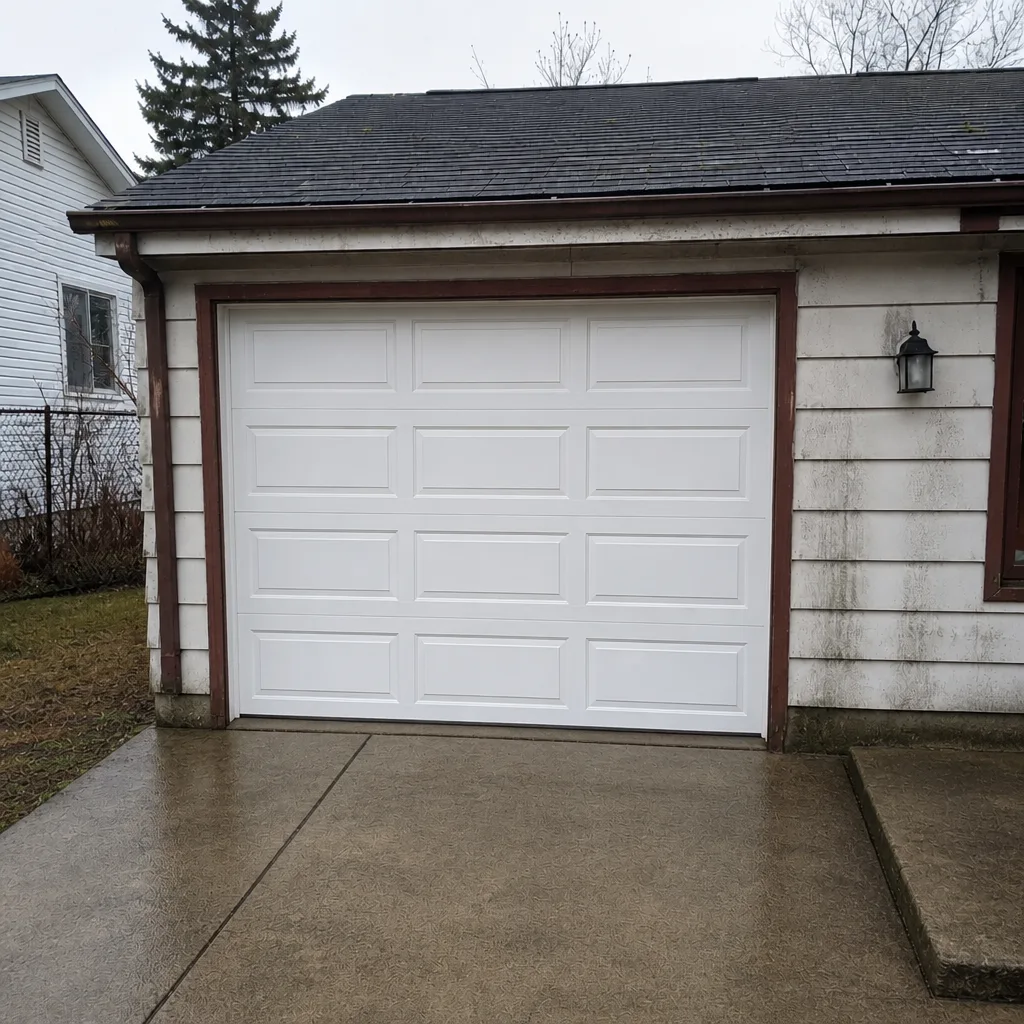 After
When to Call a Professional
Call a professional the moment a garage door problem involves springs, cables, or a door that’s come off its track. If you don’t know why the door is failing, a technician should find out before you spend more money guessing. If the door is old, has been repaired before, or makes unusual noises repeatedly, an inspection is worth more than a DIY guess. If you’re planning a new installation or replacing a door that’s more than repair-worthy, having a technician walk the options avoids a surprise down the road.
If you’re on the fence between DIY and pro, this is the honest break point: if the repair is spring or cable work, it’s professional. If it’s a roller, hinge, seal, or sensor, it’s likely a homeowner job. If it falls between, our garage door opener repair page covers the most common opener issues and where they sit on that line. And for Elgin’s Elgin East and Elgin West, as well as the neighborhoods around Lords Park and Wing Park, our team works on the exact systems installed in those homes more often than not.
Ridgeway Garage Door Repair offers free estimates in Elgin. Call (844) 320-7553. We answer 24/7. Fast dispatch from 7am to 7pm, Sunday through Friday. We work on the LiftMaster, Chamberlain, Genie, Craftsman, and eight of the most widely installed systems you’re likely to find in your garage. If your repair is a Category 3 job, we’ll explain why. If it’s a Category 1 or 2, we’ll tell you that too. You should never be talked into a repair you could safely do yourself.
Frequently Asked Questions
Yes. Roller replacement is one of the safest DIY garage door jobs and takes most homeowners an hour or two for all four to six rollers. With the door fully open and the springs relaxed, each roller slides out of its hinge bracket and a new nylon roller slides in. Buy rollers matched to your hinge size, usually 1-3/4″ or 2″, and replace one at a time to keep the door’s alignment stable. Call (844) 320-7553 if you’d rather have us do it. Estimates are free.
Torsion springs store hundreds of pounds of torsional force, and that force releases instantly if a winding bar slips or the spring breaks during adjustment. The risk isn’t a sprained wrist; a sudden release can cause broken bones, severed fingers, or worse. Extension springs carry similar energy and can whip across a garage if they snap unsafely. This is why both torsion and tension adjustments are professional-only. A trained technician has the correct winding bars, the right procedure, and the physical setup to do the work safely. Call (844) 320-7553 for a free estimate.
It can. Manufacturer warranties on doors and openers cover defects in materials, not failures caused by improper installation, adjustment, or unauthorized repair. If a technician inspects a failed part and finds signs of homeowner adjustment, the claim can be denied. That’s most common with opener force-limit changes and mismatched spring replacements. Before doing anything beyond Category 1 work, check the warranty terms for your specific brand. Call (844) 320-7553 if you want us to check what your warranty covers.
A torsion spring replacement typically runs $340 to $520 for a matched pair in the Elgin area, and a bottom seal replacement typically runs $150 to $280 for a standard width door. Opener repairs range from around $120 for a small part up to $340 for a motor or drive component. All prices are estimates, and the written estimate sets the final price. We quote and agree on the price before any work starts. Call (844) 320-7553 for an exact quote. Estimates are free.
No, and this is a specific safety call. A door off its tracks may still be holding partial load on the springs, and attempting to force it back on can trigger a sudden drop or a spring failure. Leave the door where it is and call a technician, who will stabilize and reset it with the correct tools. If the door is high up, lodged, or crooked, don’t try to move it. Call (844) 320-7553 and we’ll book it in. We answer 24/7.
The failure symptom usually points to the category. Noisy hinges usually mean rollers or lubrication. A door that won’t close usually means photo-eye sensors or opener travel limits. A door that drops fast usually means a broken spring or a lift cable off its drum. For anything you can’t identify by symptom, call (844) 320-7553. We’ll talk through it, and we’ll tell you honestly which repairs you can hand to a professional and which you can safely do yourself. Estimates are free.
The Bottom Line
DIY vs professional for garage doors isn’t a single choice. It’s a set of judgments across three categories. Rollers, seals, hinges, sensors, and lubrication are homeowner work, and doing them yourself saves real money. Travel limits, bottom brackets, and track tightening are doable with careful research and appropriate caution. Torsion springs, extension springs, lift cables, and off-track doors are professional-only, and no exception is worth the risk. The category determines the cost, the timeline, and the warranty picture. Sort your repair properly, and calling a technician for the right task is often the faster, cheaper, and safer choice.
Our Elgin team works on the LiftMaster and Chamberlain myQ systems you’ll find in newer homes, the Genie and Craftsman openers common in older Elgin builds, and the door brands like Clopay, Amarr, Wayne Dalton, and Raynor that are installed across the area. When you’re ready to talk through whether a repair is a DIY job or a technician visit, call (844) 320-7553. We answer 24/7. Fast dispatch from 7am to 7pm, Sunday through Friday. Free estimates, and the price is quoted before any work starts. If you’re looking for a reputable Ridgeway Garage Door Repair team to check your door, we’re glad to be your first call.
Written by the team at Ridgeway Garage Door Repair.